In the upcoming blog series, I will highlight different areas of the Databricks CLI with various practical examples.
Content of the blog series
Listed below are the respective blog posts with a short description. I will update this list on an ongoing basis.
Authentication Methods with Databricks CLI on Azure Databricks - Step by Step
Why Databricks CLI?
First things first, why work with the Databricks CLI?
The Databricks CLI offers many benefits and is a precious tool for developers and data engineers who use Databricks regularly. Its ability to automate many routine tasks saves time and reduces the risk of human error. Instead of manually starting or stopping clusters, transferring files, or managing jobs, these processes can be controlled and automated directly from the command line.
The Databricks CLI is particularly valuable for administrative tasks. Imagine you have to provide an environment for 20 students for training purposes: create 20 users, create 20 catalogs, assign the 20 students to a group, and so on. Automating the whole thing with a CI/CD pipeline makes no sense. Doing it all via Databricks Workspace is a very tedious job. This is where the Databricks CLI comes into play; I can do these tasks very efficiently on the console.
Why this blog series?
This is a legitimate question, as everything is already documented. This blog series aims to try out all the available commands. This way, I get to know the various possibilities. Hopefully, in the future, I will no longer implement one or the other tasks via the Workspace GUI but will increasingly use the Databricks CLI. I will also create sample queries. These should then be easy to copy, adapt, and use later.
Installation and documentation
The documentation can be found on the official Databricks documentation. I have made a habit of using the documentation that corresponds to my Databricks platform, namely Azure Databricks: https://learn.microsoft.com/en-us/azure/databricks/dev-tools/cli/. There are also versions for Databricks on AWS and GCP.
The documentation also describes in detail how to install the Databricks CLI: https://learn.microsoft.com/en-us/azure/databricks/dev-tools/cli/install If you’re lucky enough to own a Mac, it’s very easy, especially with homebrew. 😊
Authentication
Authentication is another topic to which I have already dedicated an entire blog post. You can find this blog here: Authentication Methods with Databricks CLI on Azure Databricks - Step by Step
How to work with the CLI
What is the best way to work with the Databricks CLI? The same way you work with other CLIs, such as the Azure CLI. You don’t need a mouse; you can do everything with the keyboard. Nevertheless, there are a few tips that make life a little easier. Let’s take the example of the 20 students again. I want to create these 20 students, and then I will execute several commands one after the other. In other words, I type the following command in the terminal:
|
|
And then receive the following output:

Then, I would create the 2nd user; for example, I can adjust the command in the history of the terminal. Execute the command again, wait briefly, change the terminal command, execute, and so on. This is tedious.
This task would work better if I could execute the 20 commands simultaneously, prepare them in an editor, and save them for later. This can be achieved relatively easily by using Visual Studio Code. As the following example shows, I open an empty file and create all the commands. For the sake of simplicity, I have only made eight users:
|
|
There is an integrated terminal in Visual Studio Code. So I don’t have to open another application but see the terminal integrated in VS Code. I select all lines, and with a shortcut, all commands are executed directly in the terminal:
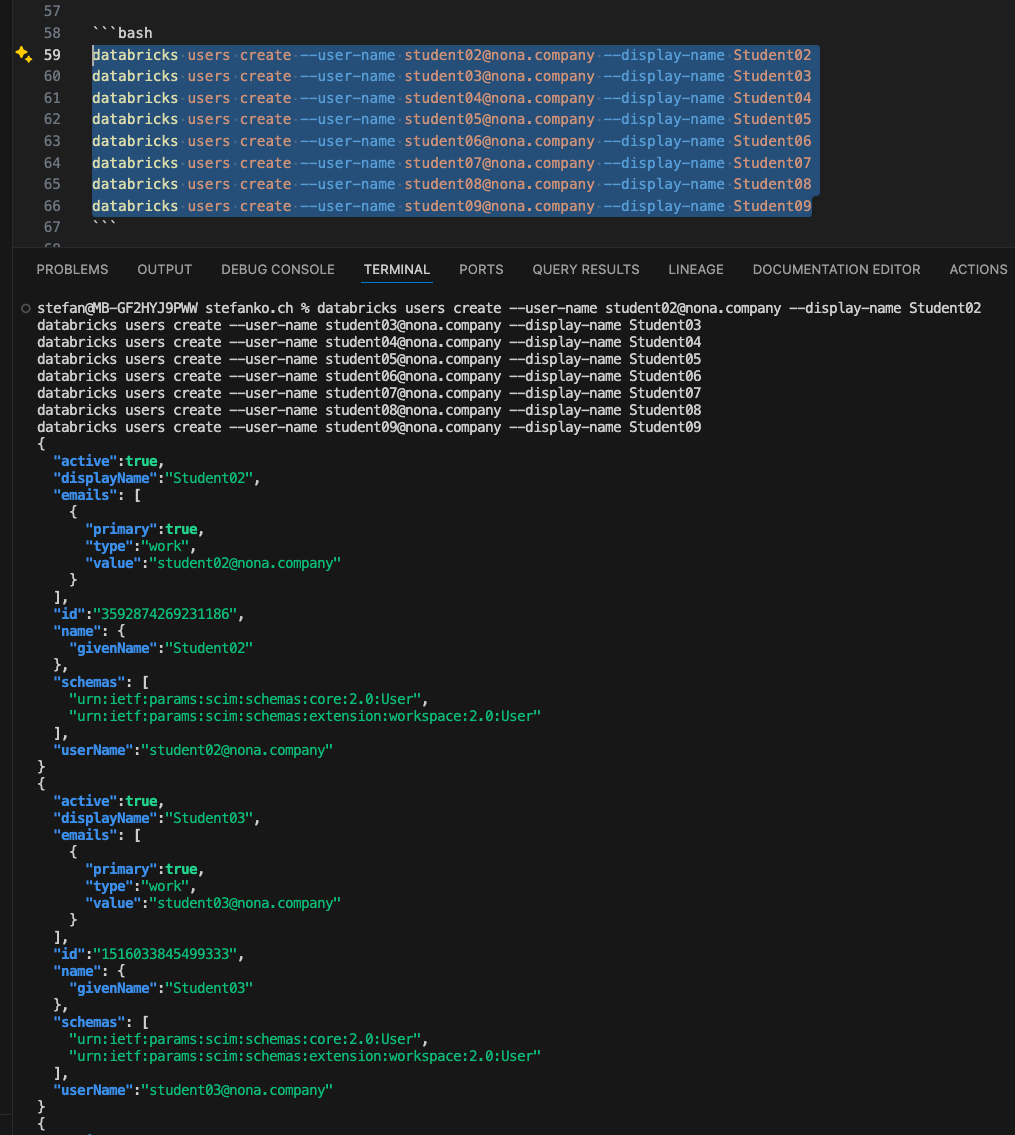
I have described how to configure VS Code so that it executes selected text directly in the terminal with a shortcut in this Medium article: Boost Your Workflow: Speeding Up Terminal Work with Visual Studio Code and These Simple Tricks
This trick is also handy to integrate JSON objects into the command.
How to deal with JSON in Commands
JSON objects usually extend over several lines. Entering these manually in the terminal would be very tedious and error-prone. 2 methods are beneficial for this. On the one hand, as mentioned in the previous section, I can use Visual Studio Code or work with JSON files. As an example, I will create a cluster.
|
|
When I execute this command, the cluster is created:

You can also see the result immediately in the workspace:
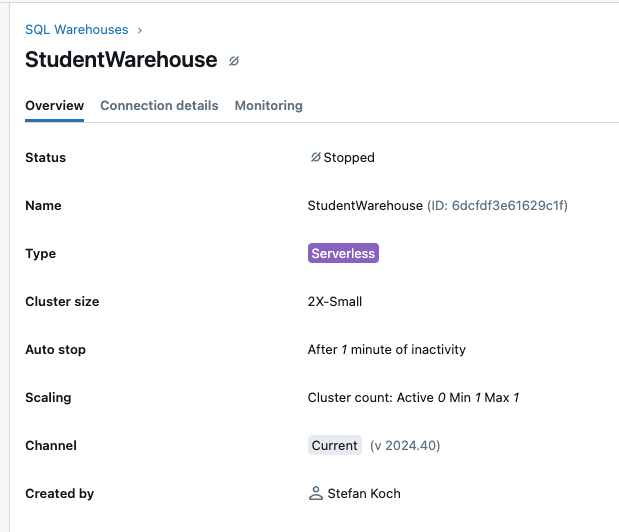
Instead of outputting the JSON in several lines in the terminal, you can also write the content in a JSON file and then output it with one line in the terminal. I will create a new JSON file and copy the previous content. I call the warehouse “StudentWarehouse_2”, and the file has the name warehouse.json:
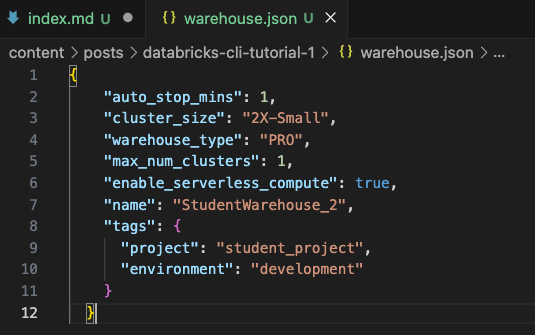
The command to create the warehouse is now:
|
|
This also works perfectly:
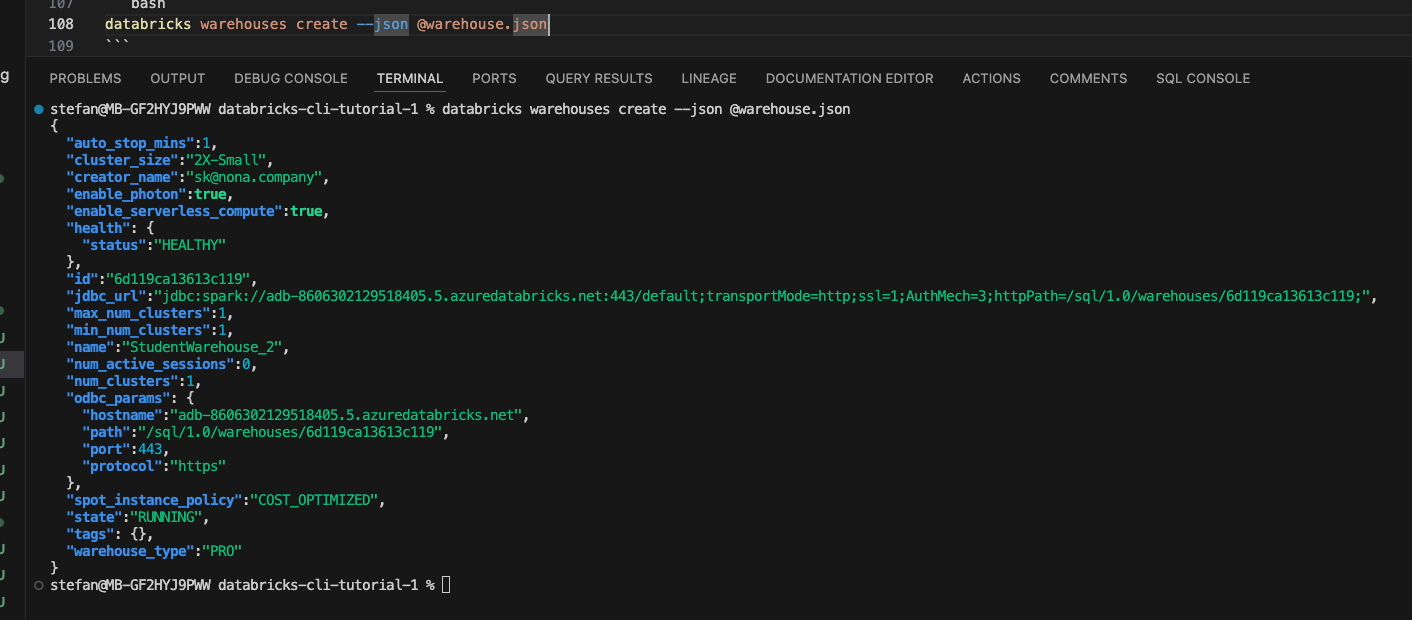
And I can see the newly created cluster in the GUI:

Auto-Completion
After the Databricks CLI has been installed, there is no auto-completion. This is very helpful as you can type in commands quickly and, above all, prevent typing errors. It is recommended to install it immediately. The installation is different depending on the terminal used. On my Mac, I work in VS Code with the Z Shell, abbreviated as zsh. There is currently completion for bash, fish, PowerShell, and zsh. This is documented in detail in the help:
|
|
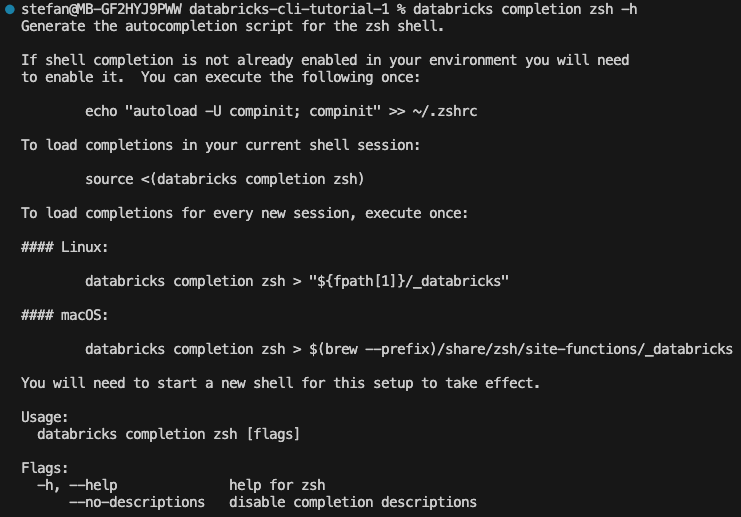
So that I can benefit from auto completion every time, I have to execute the following command in the terminal:
|
|
Then, execute a new shell according to the instructions. In VS Code, you can do this here:
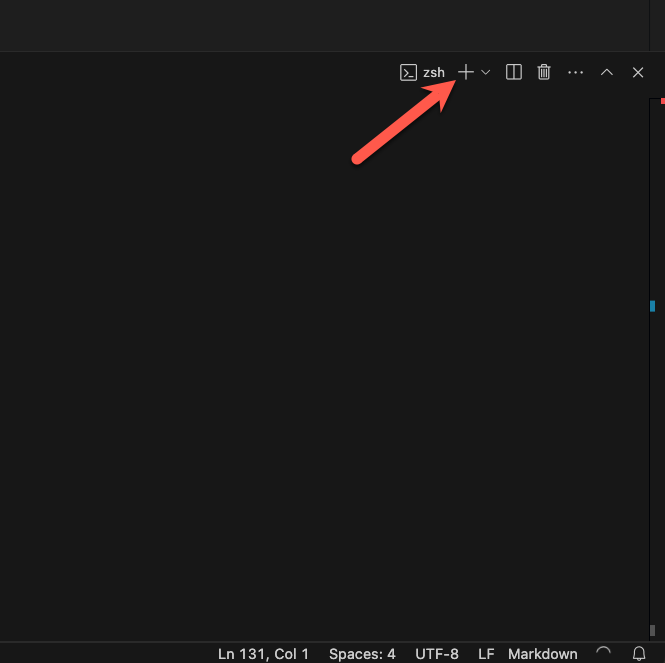
Or restart the classic terminal once. Then execute the following command:
|
|
Next Article
The next article ‘Databricks CLI Step by Step - Part 2 - Workspace commands’ is in progress and will be published soon. Stay tuned.😀
Code Repo
All the examples in the following posts will be stored in this Github-Repo: https://github.com/stefanko-ch/Databricks_Dojo/tree/main