Introduction
Self-hosting is awesome – you have full control over your data, no subscription fees, and you learn a lot about system administration along the way. But it comes with real challenges: security concerns (every open port is a potential entry point), SSL certificate management, DDoS protection (a small VPS can’t withstand an attack), scattered authentication systems, and the ongoing maintenance burden of updates, backups, and monitoring.
In this guide, I’ll show you how I solved these problems – and how you can deploy the entire solution with a single command:
|
|
That’s it. 5 minutes later you have a fully secured Docker host with zero open ports.
Why This Architecture?
Before diving into the automation, let me explain why I chose this approach.
The traditional self-hosting setup involves opening ports 80 and 443, configuring Nginx or Traefik as a reverse proxy, setting up Let’s Encrypt for SSL certificates, and creating firewall rules for each service. This approach has several disadvantages: ports are directly accessible from the internet, meaning DDoS attacks hit your server directly. SSL certificates require manual management, and the Nginx configuration grows increasingly complex with each new service.
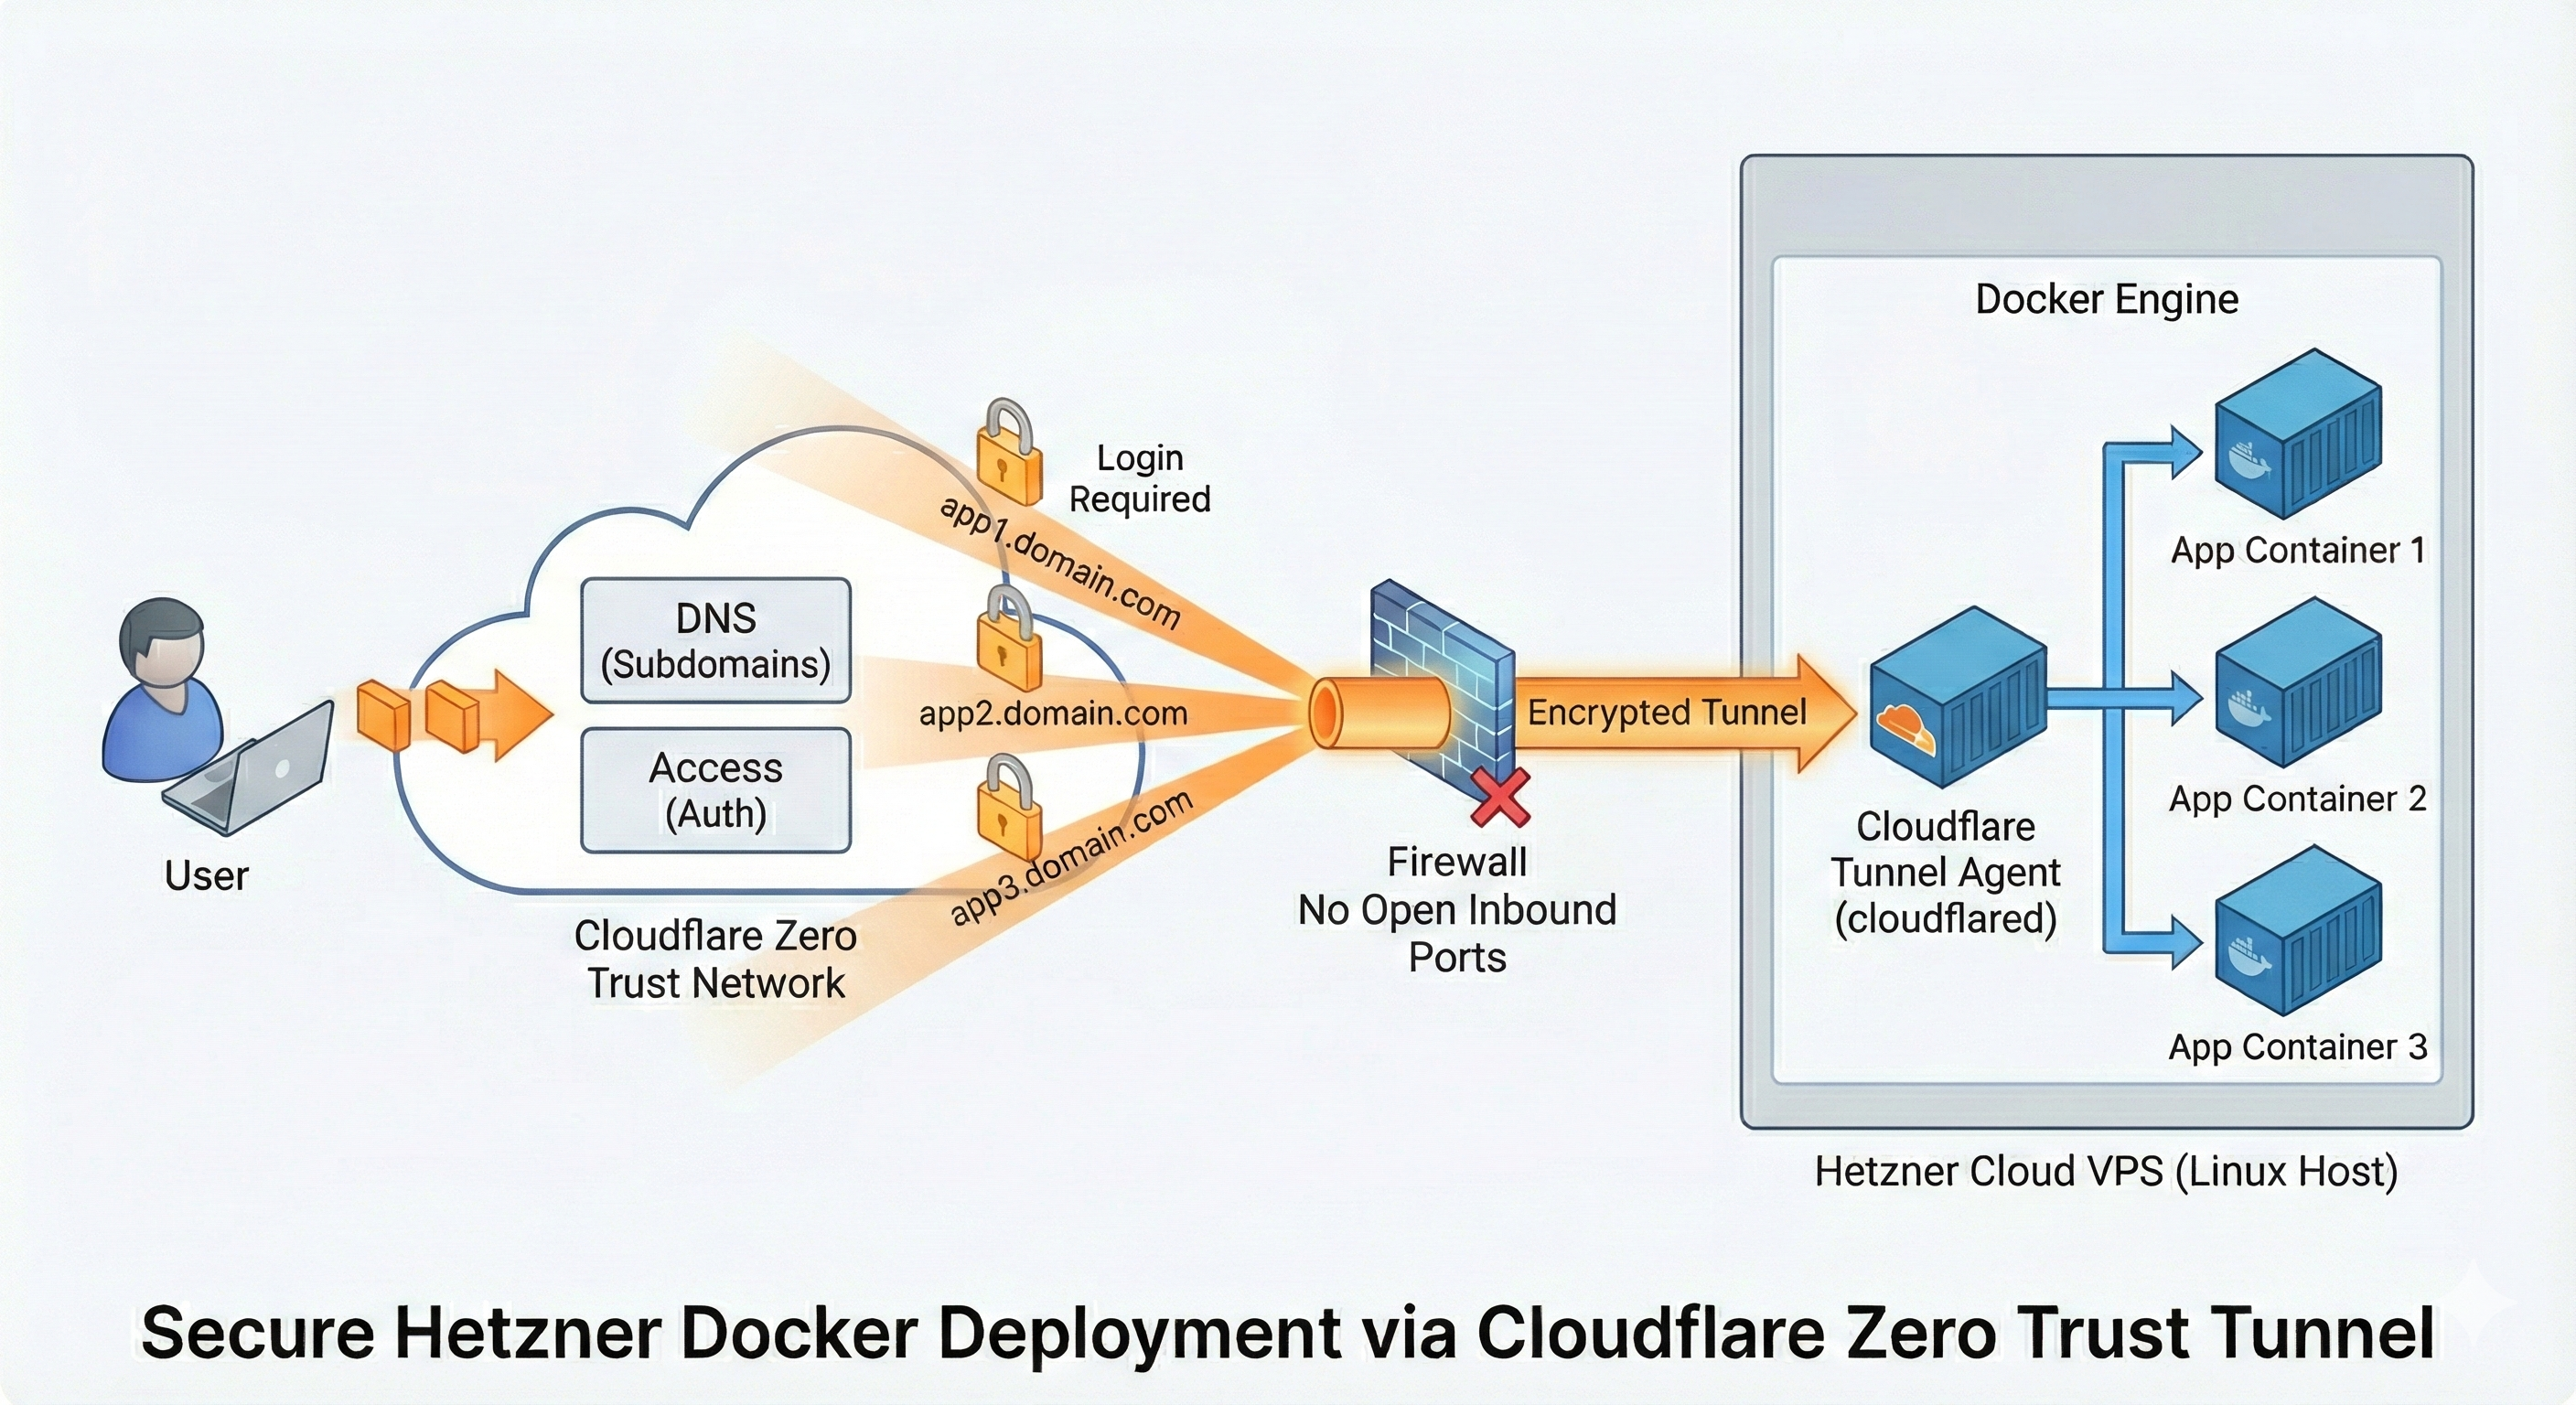
Instead, I use a Cloudflare Tunnel. The tunnel establishes an outgoing connection from my server to Cloudflare – no incoming ports needed. Cloudflare handles SSL automatically, DDoS protection is included, and Cloudflare Access provides centralized authentication for all apps. This might sound like vendor lock-in, but the free Cloudflare plan is more than enough, and I can always switch to a classic reverse proxy if needed.
Prerequisites
Before you start, you’ll need:
| Requirement | How to Get It |
|---|---|
| Hetzner Cloud Account | hetzner.com/cloud |
| Hetzner API Token | Cloud Console → Security → API Tokens |
| Cloudflare Account | cloudflare.com (free plan works) |
| A Top Level Domain | There are a lot of registrars |
| Domain on Cloudflare | Add your domain to Cloudflare |
| Cloudflare API Token | Profile → API Tokens → Create Token |
| OpenTofu | brew install opentofu or opentofu.org |
The Domain & Cloudflare
For my example, I purchased a Swiss domain called nexus-stack.ch. I usually register my domains at https://www.infomaniak.com/en, which offers good service and affordable domains. After the domain becomes active, the default DNS configuration points to my registrar’s DNS servers (Infomaniak).
However, I want to manage this via Cloudflare. I log in to Cloudflare and go to the Home page.
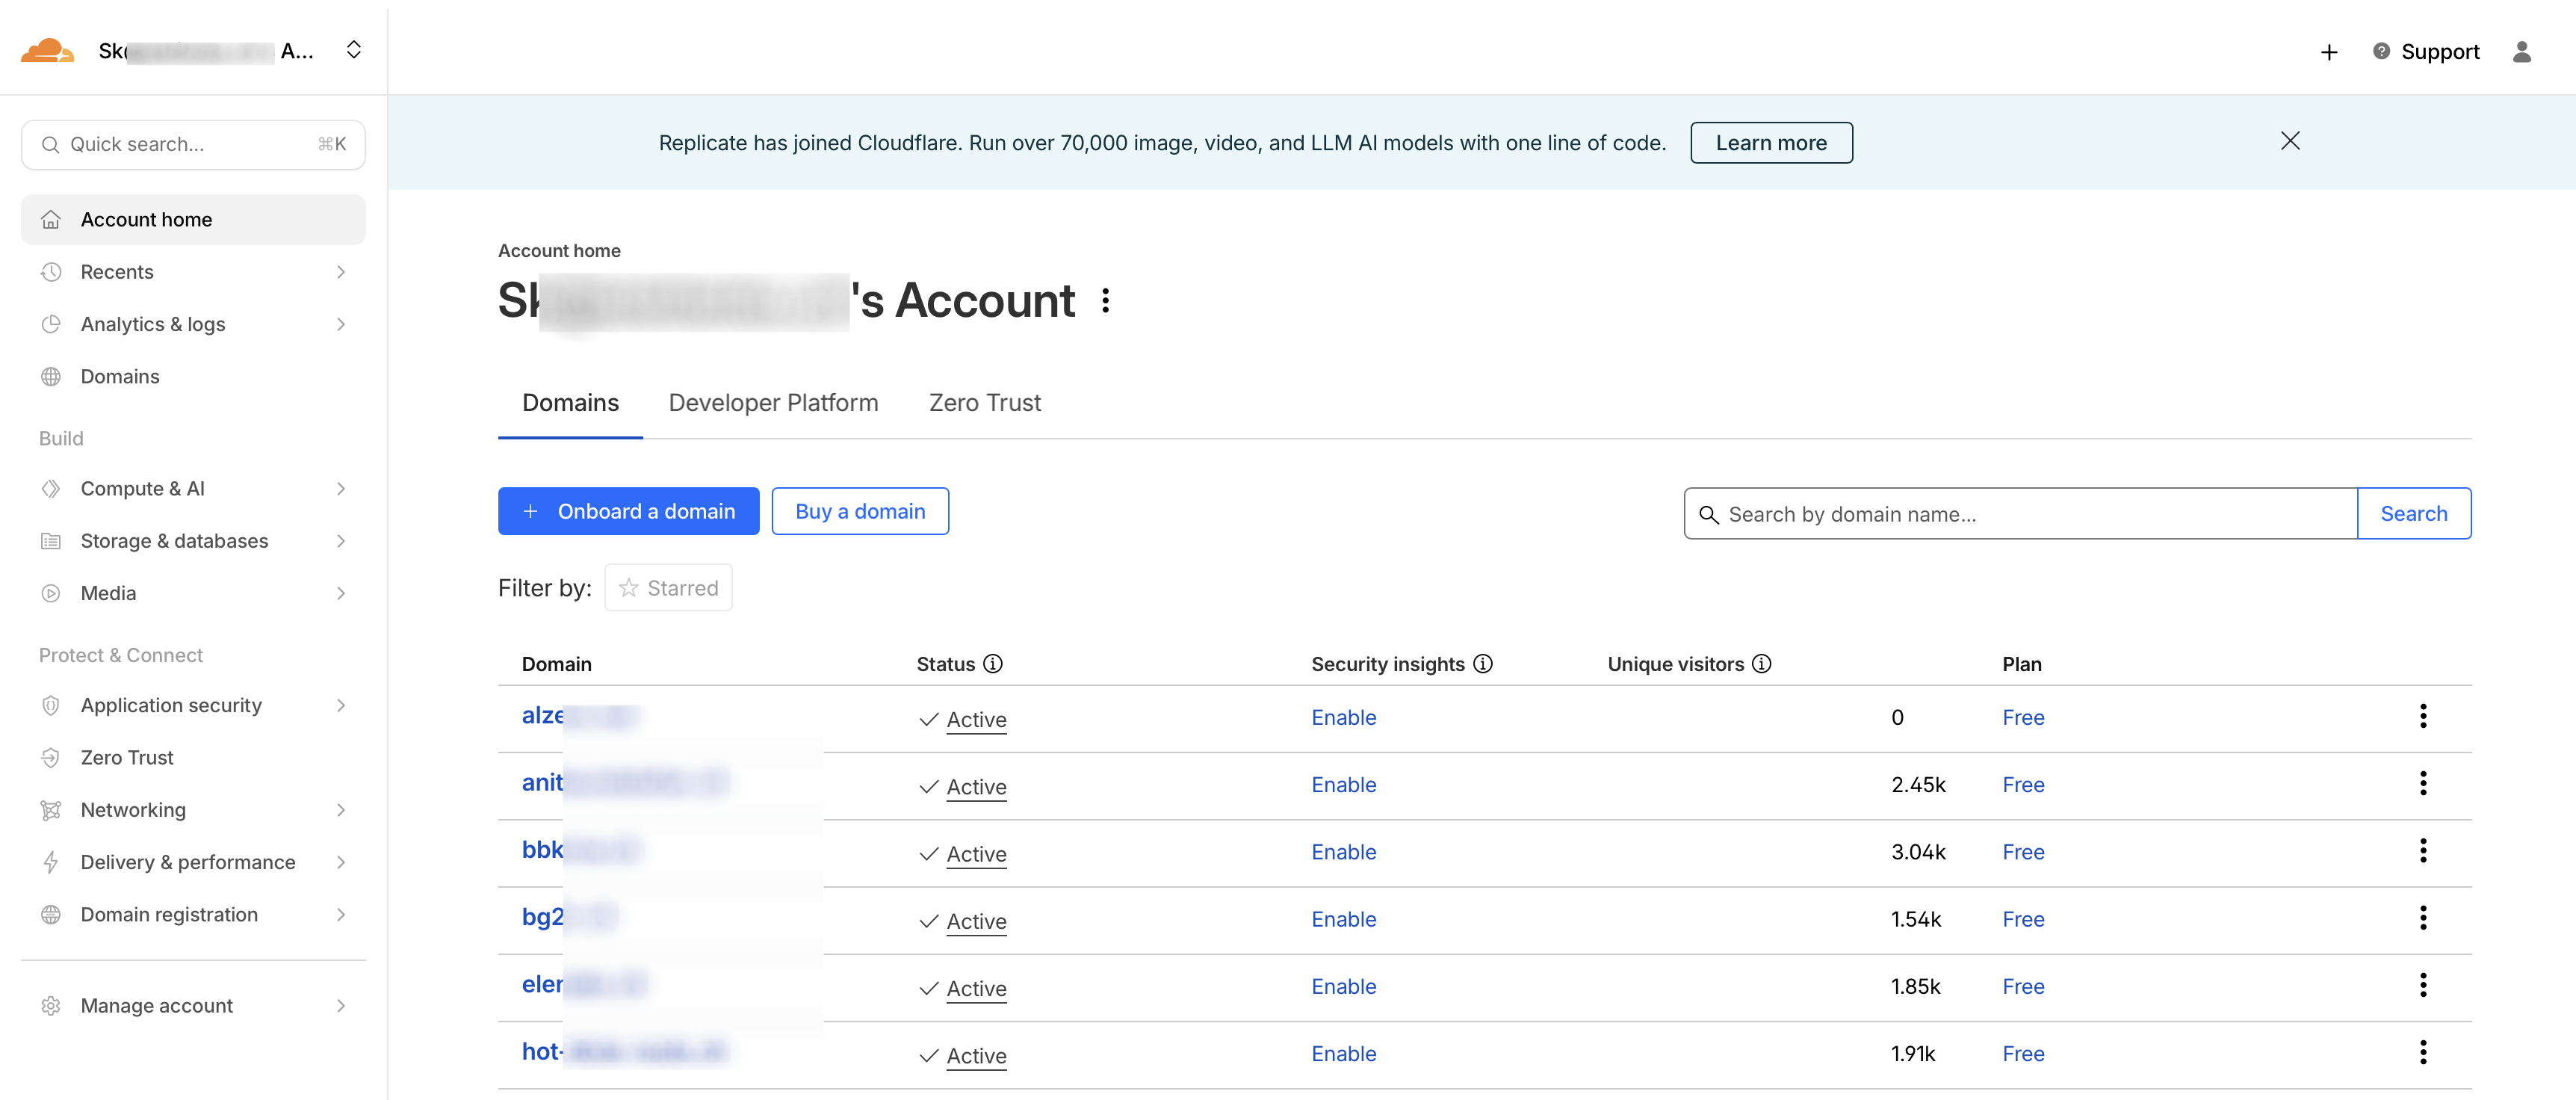
Now I click on “Onboard Domain”.
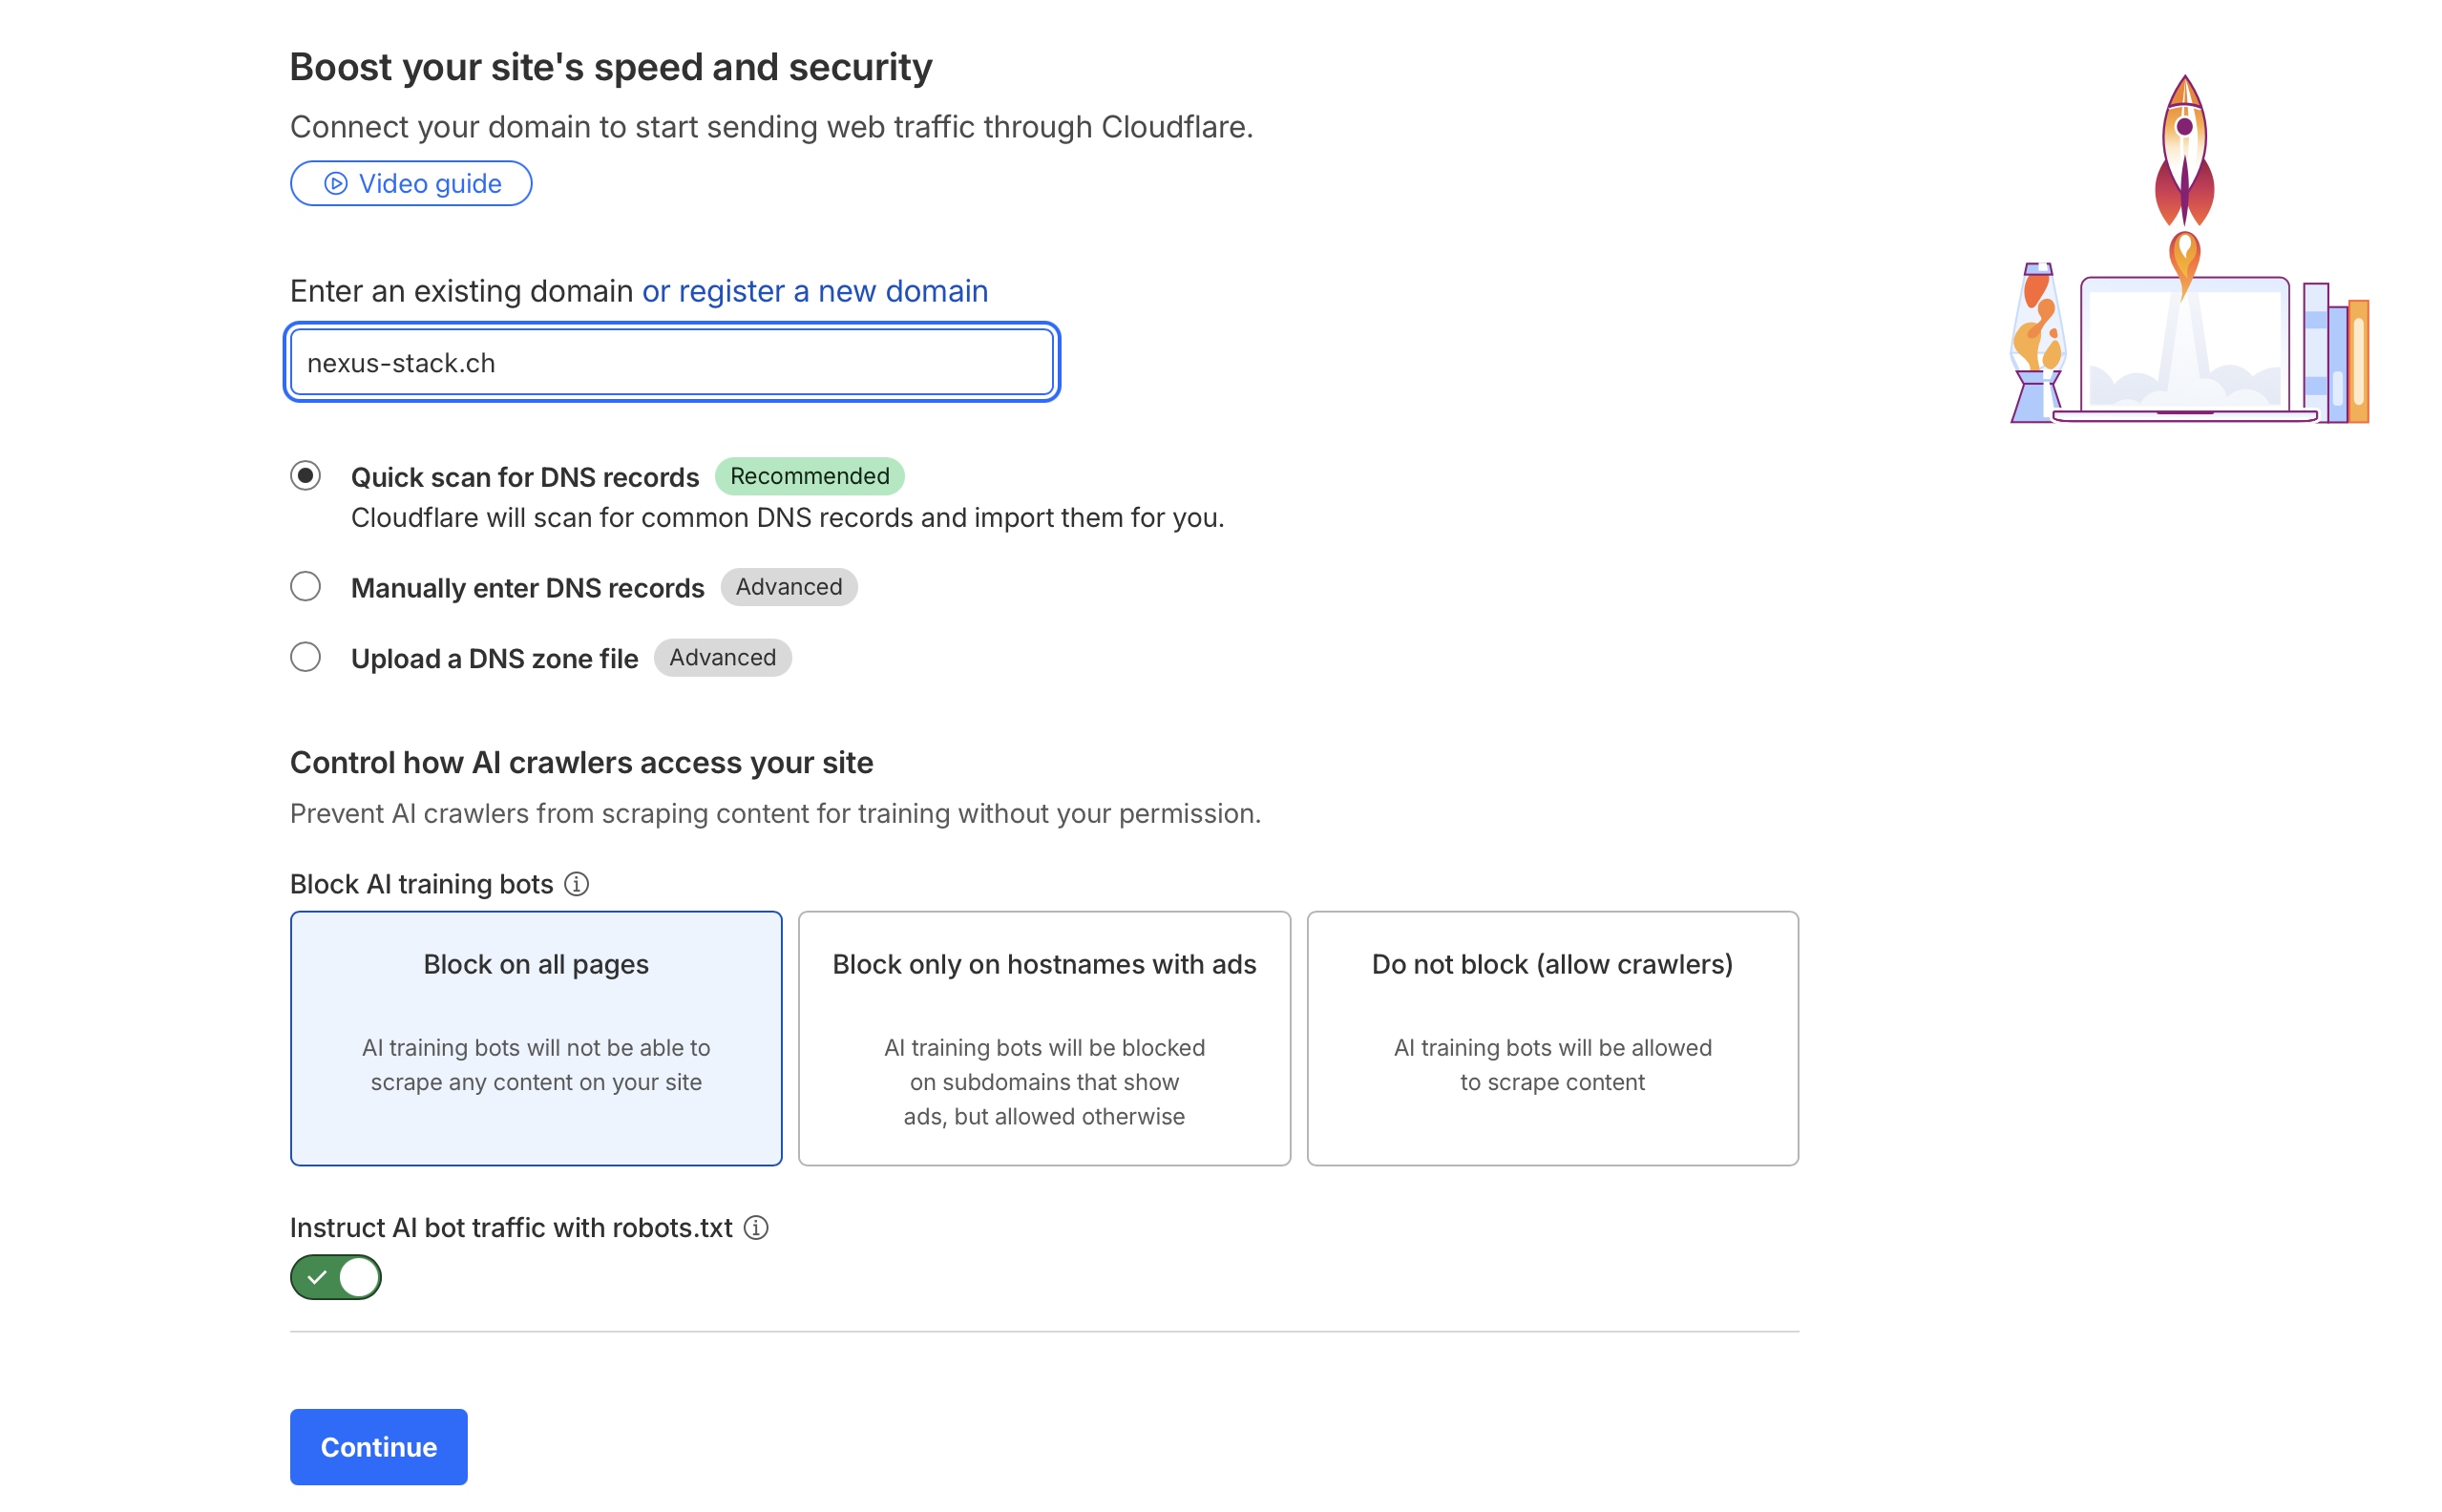
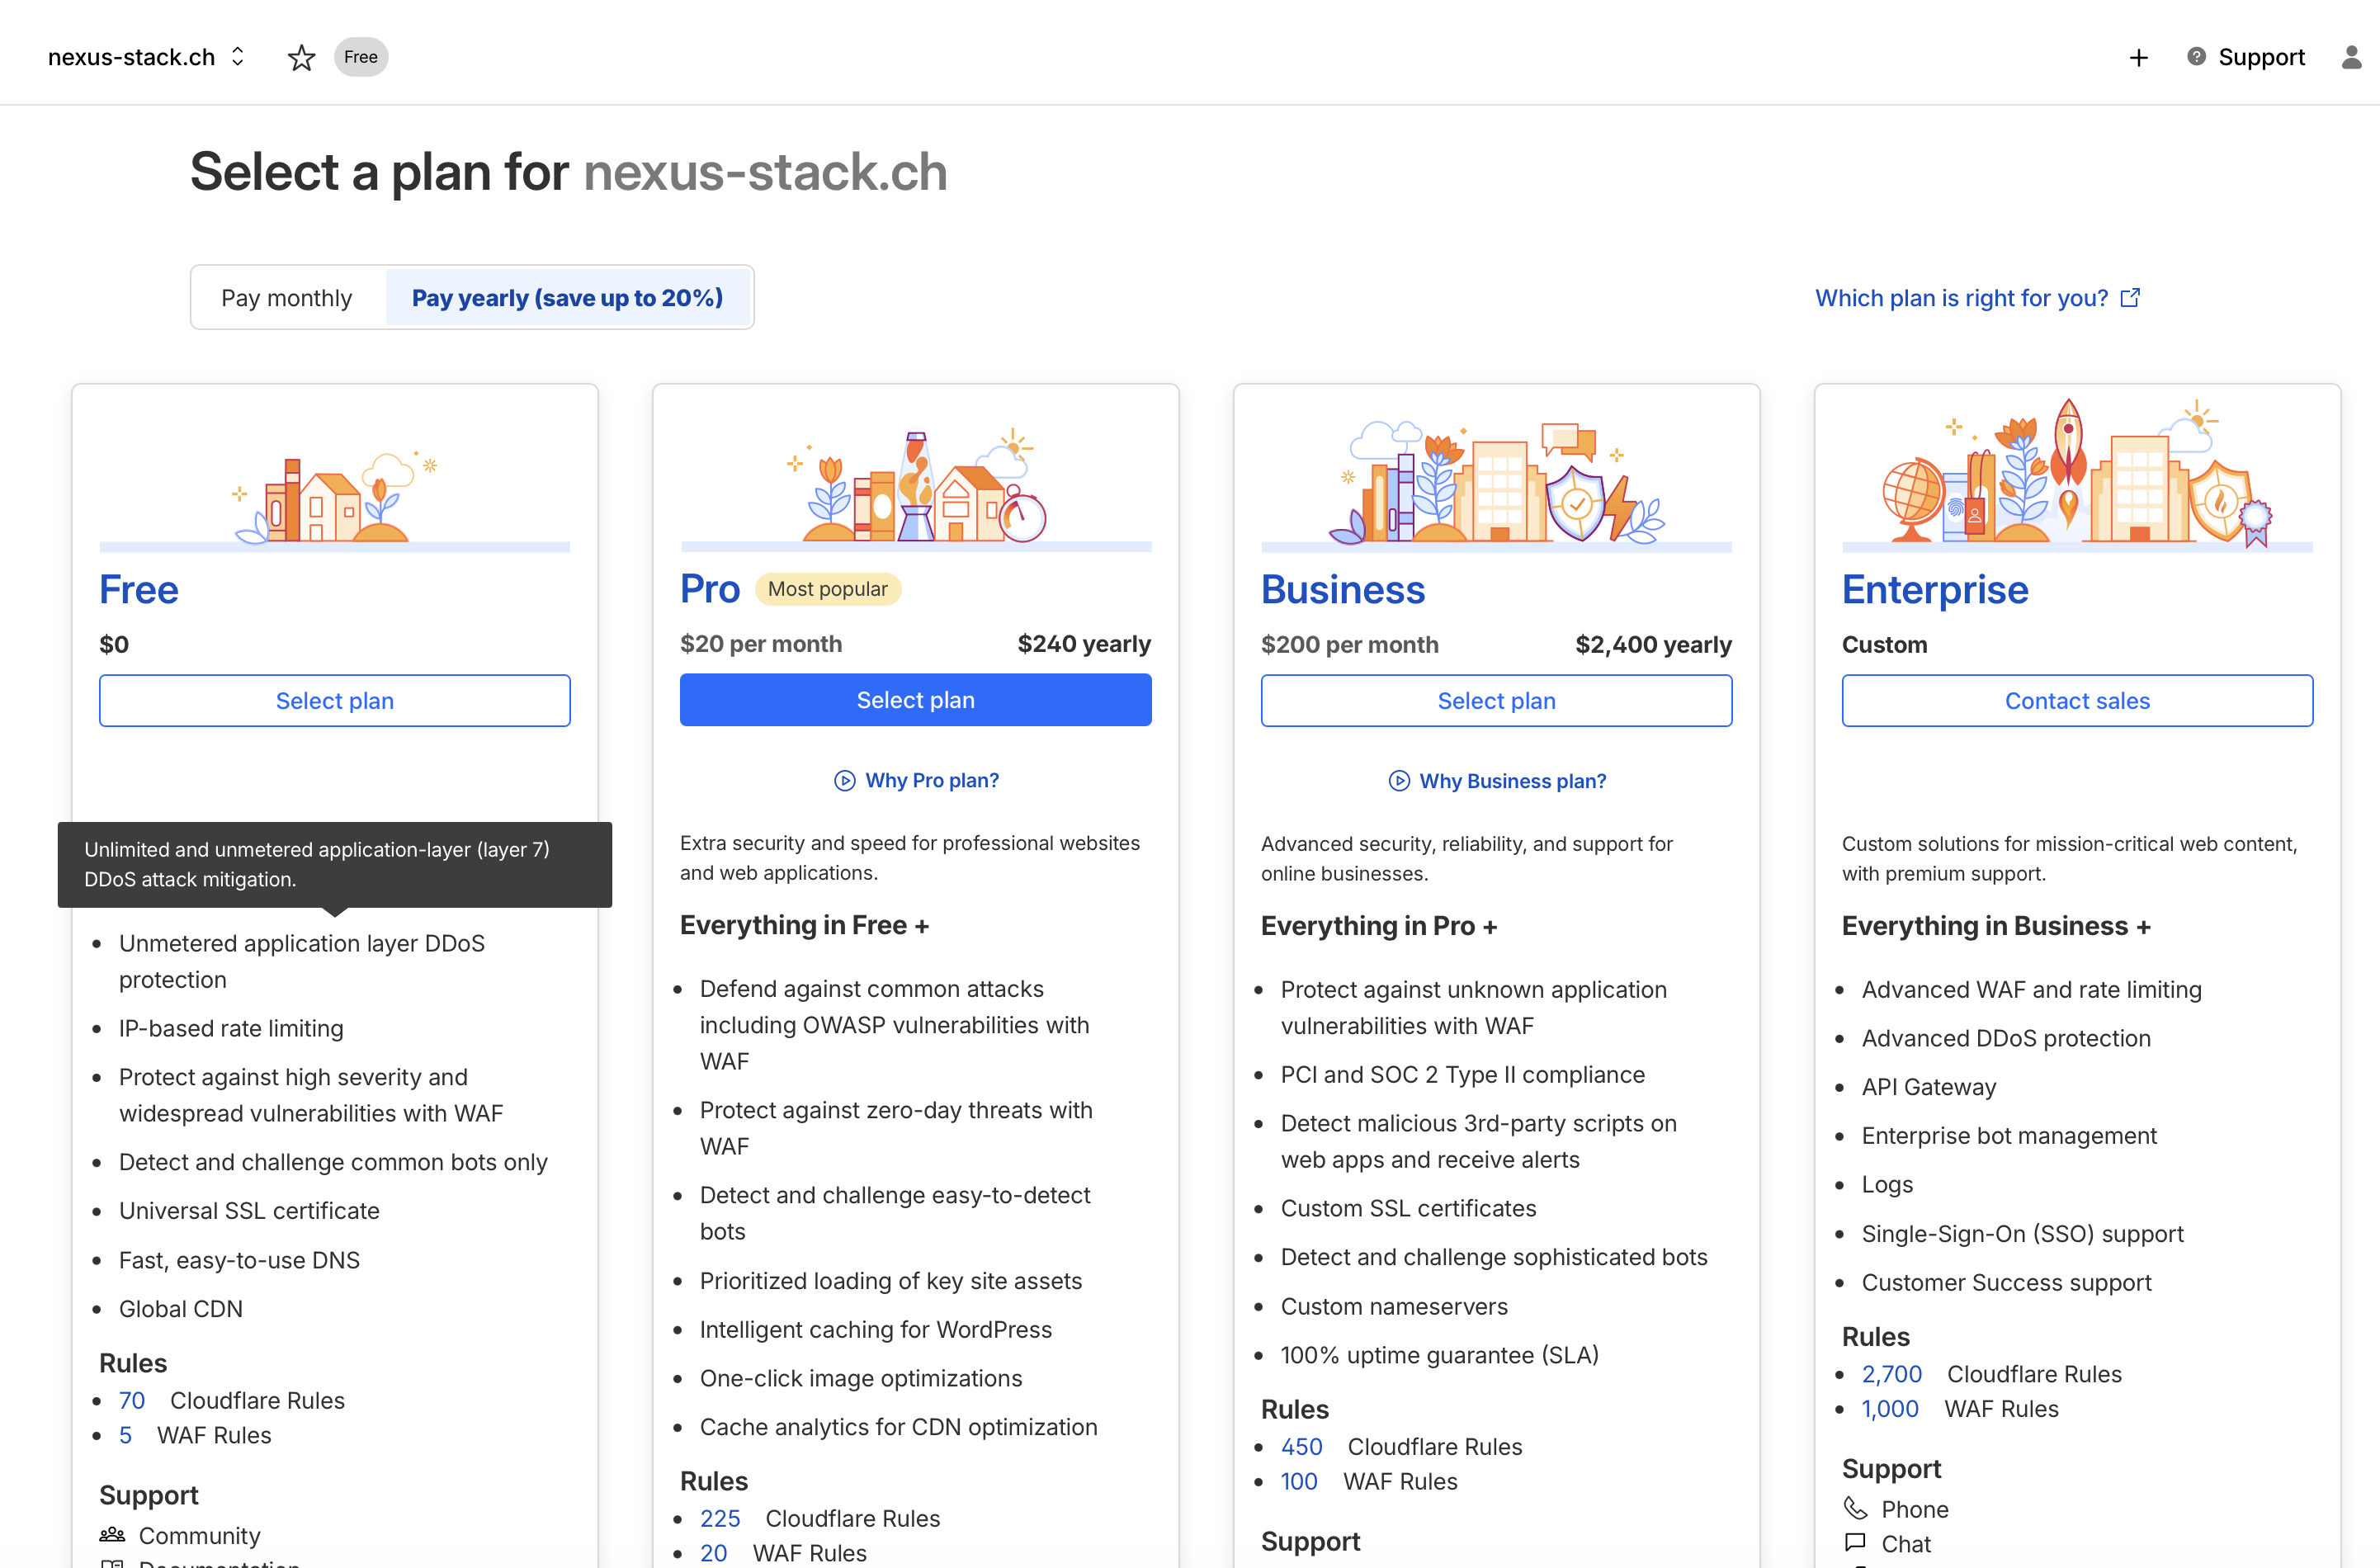
The free plan is more than sufficient.
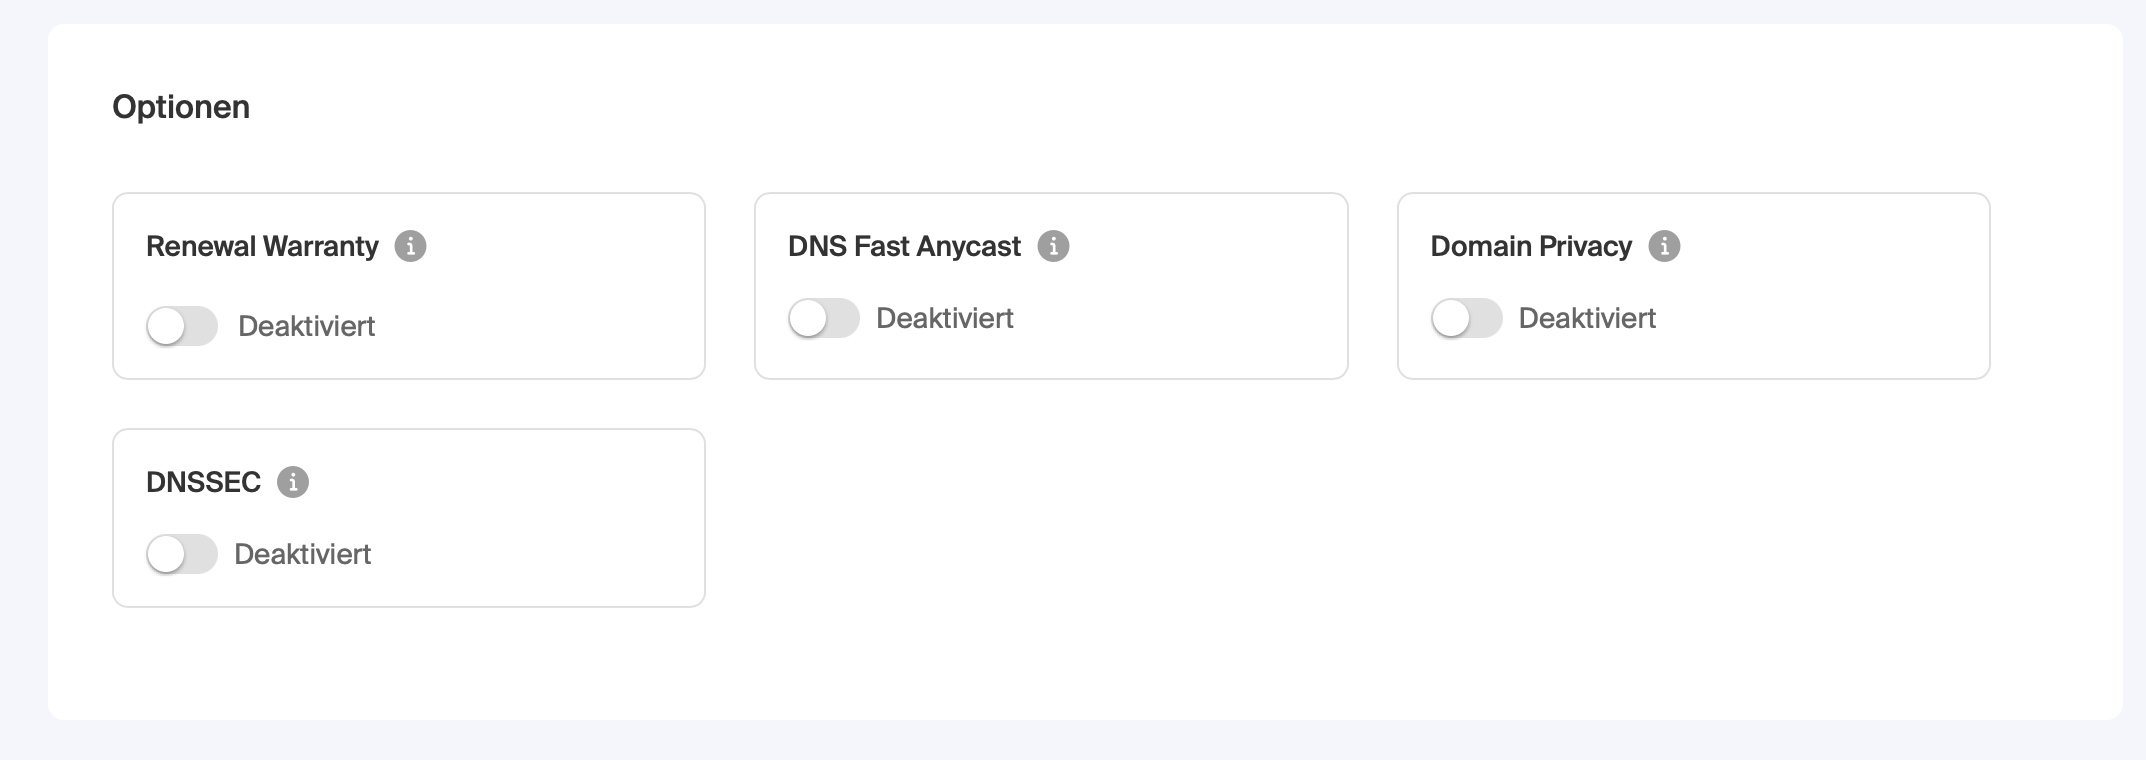
DNSSEC needs to be disabled at the old registrar first.
Now I point the DNS servers at the registrar to Cloudflare.
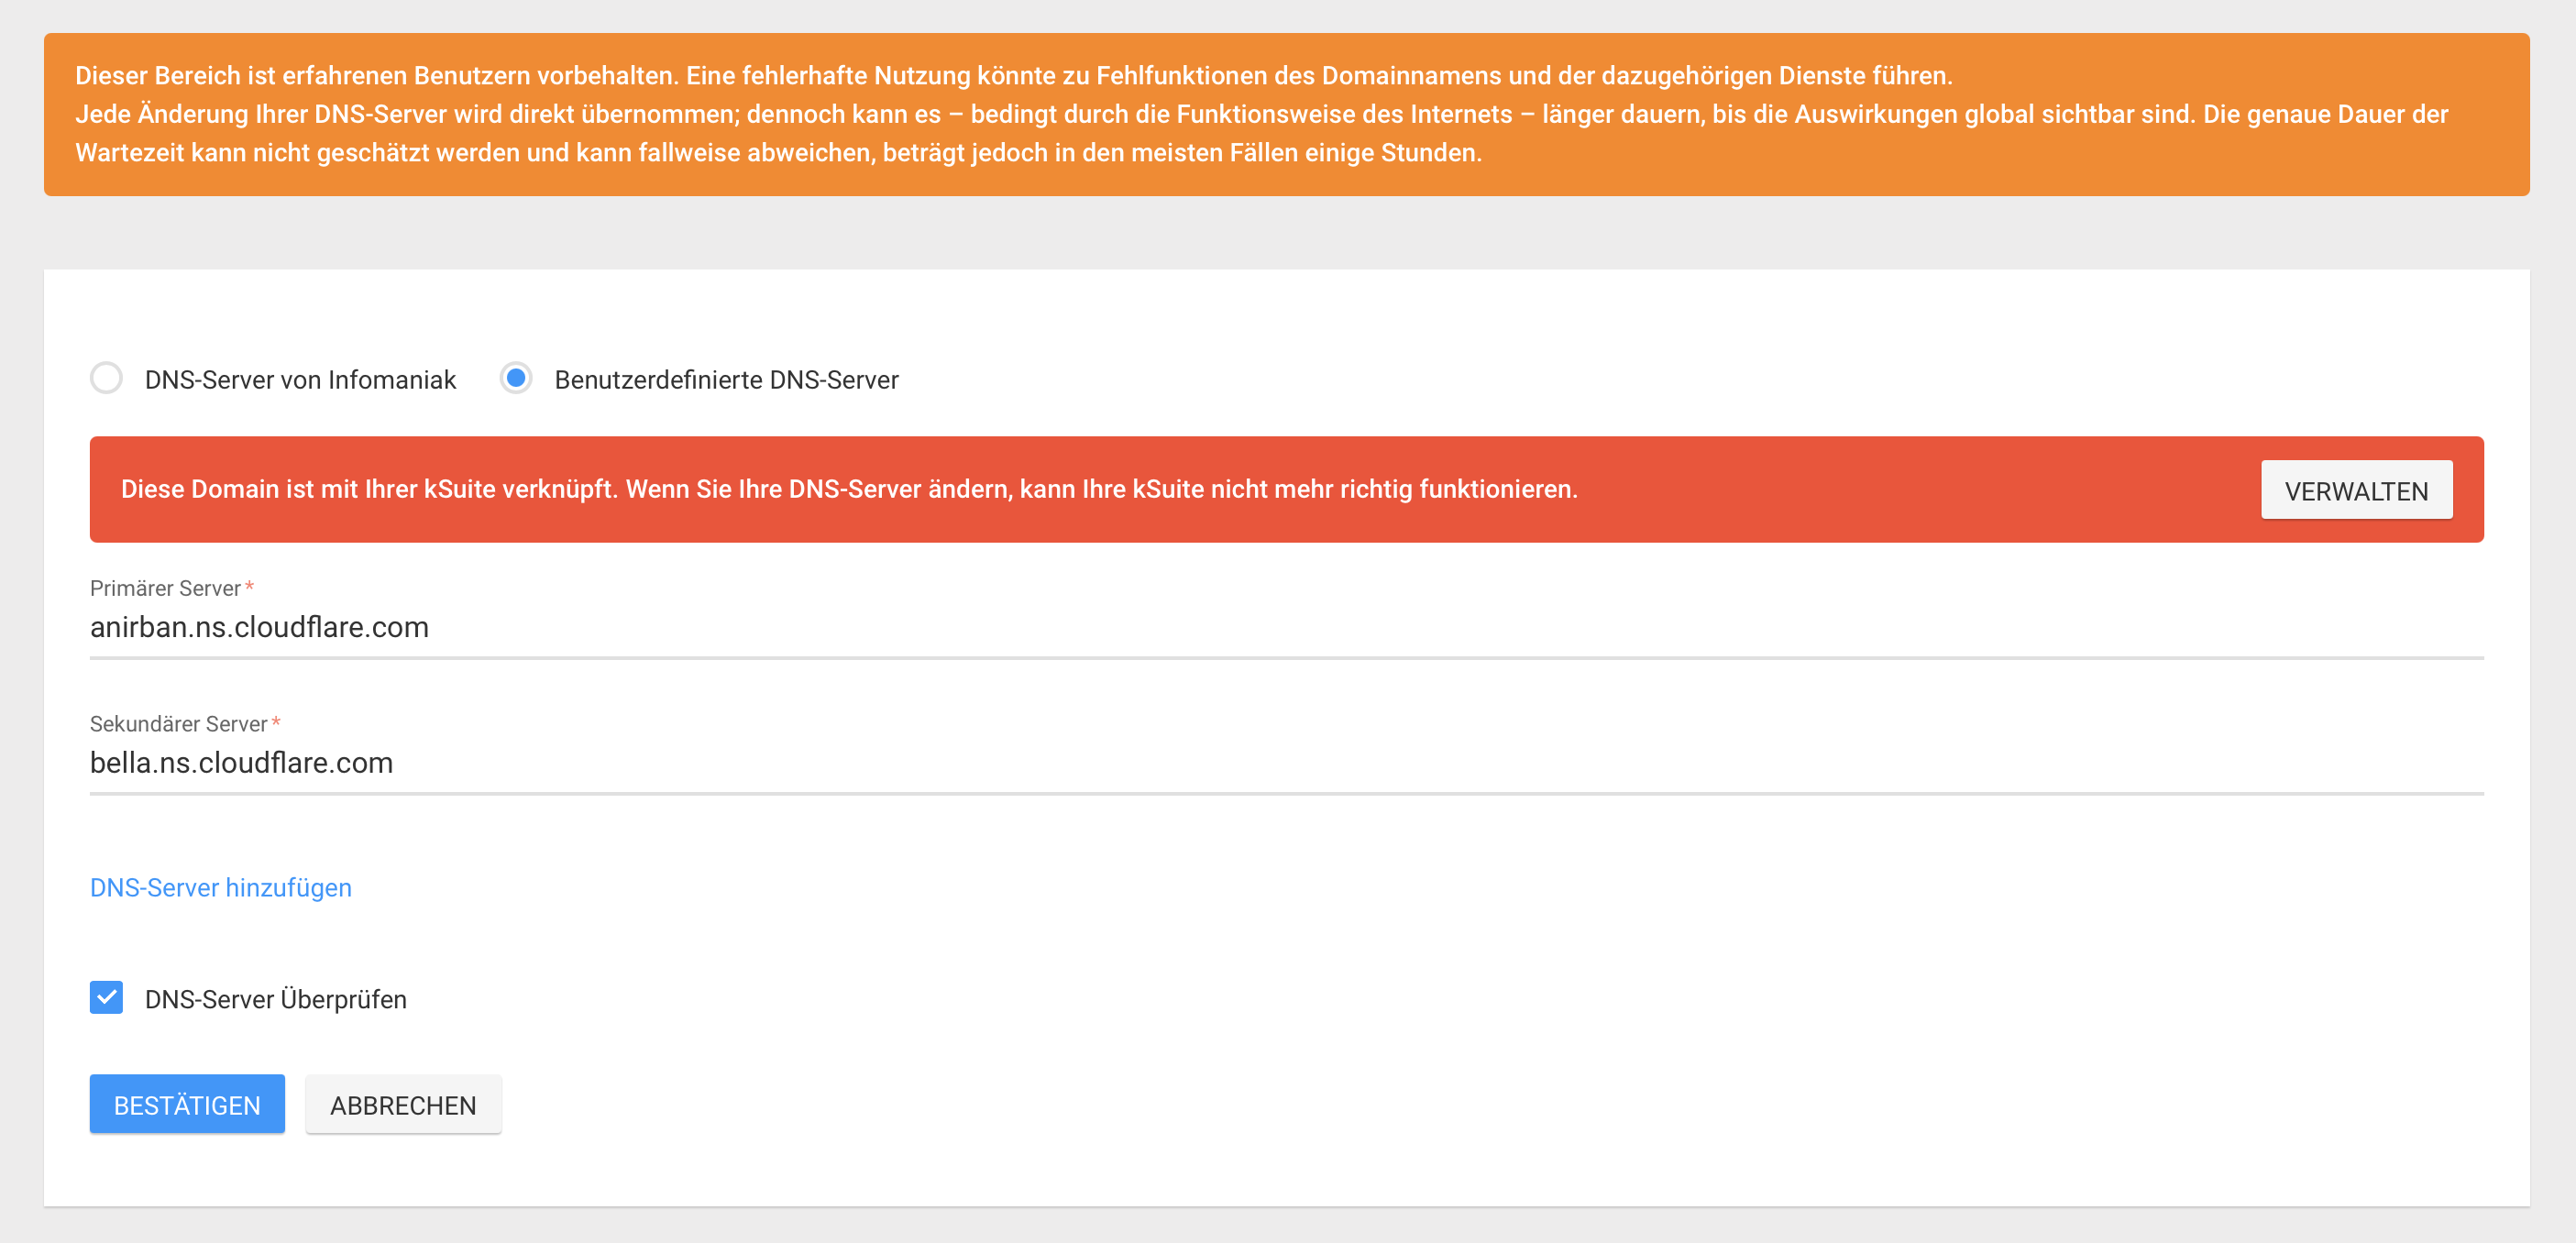
This still needs to be confirmed at Cloudflare.
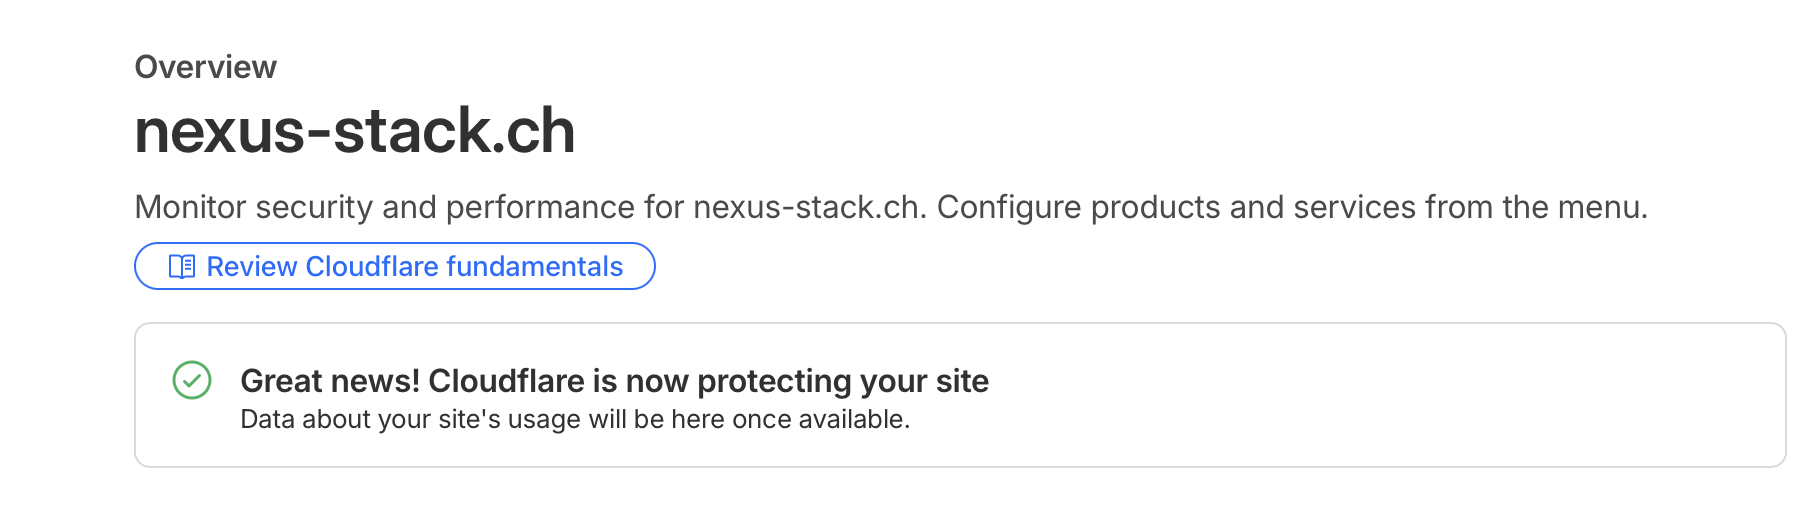
The whole process can theoretically take up to 24 hours, but for me it was completed after about 30 minutes.

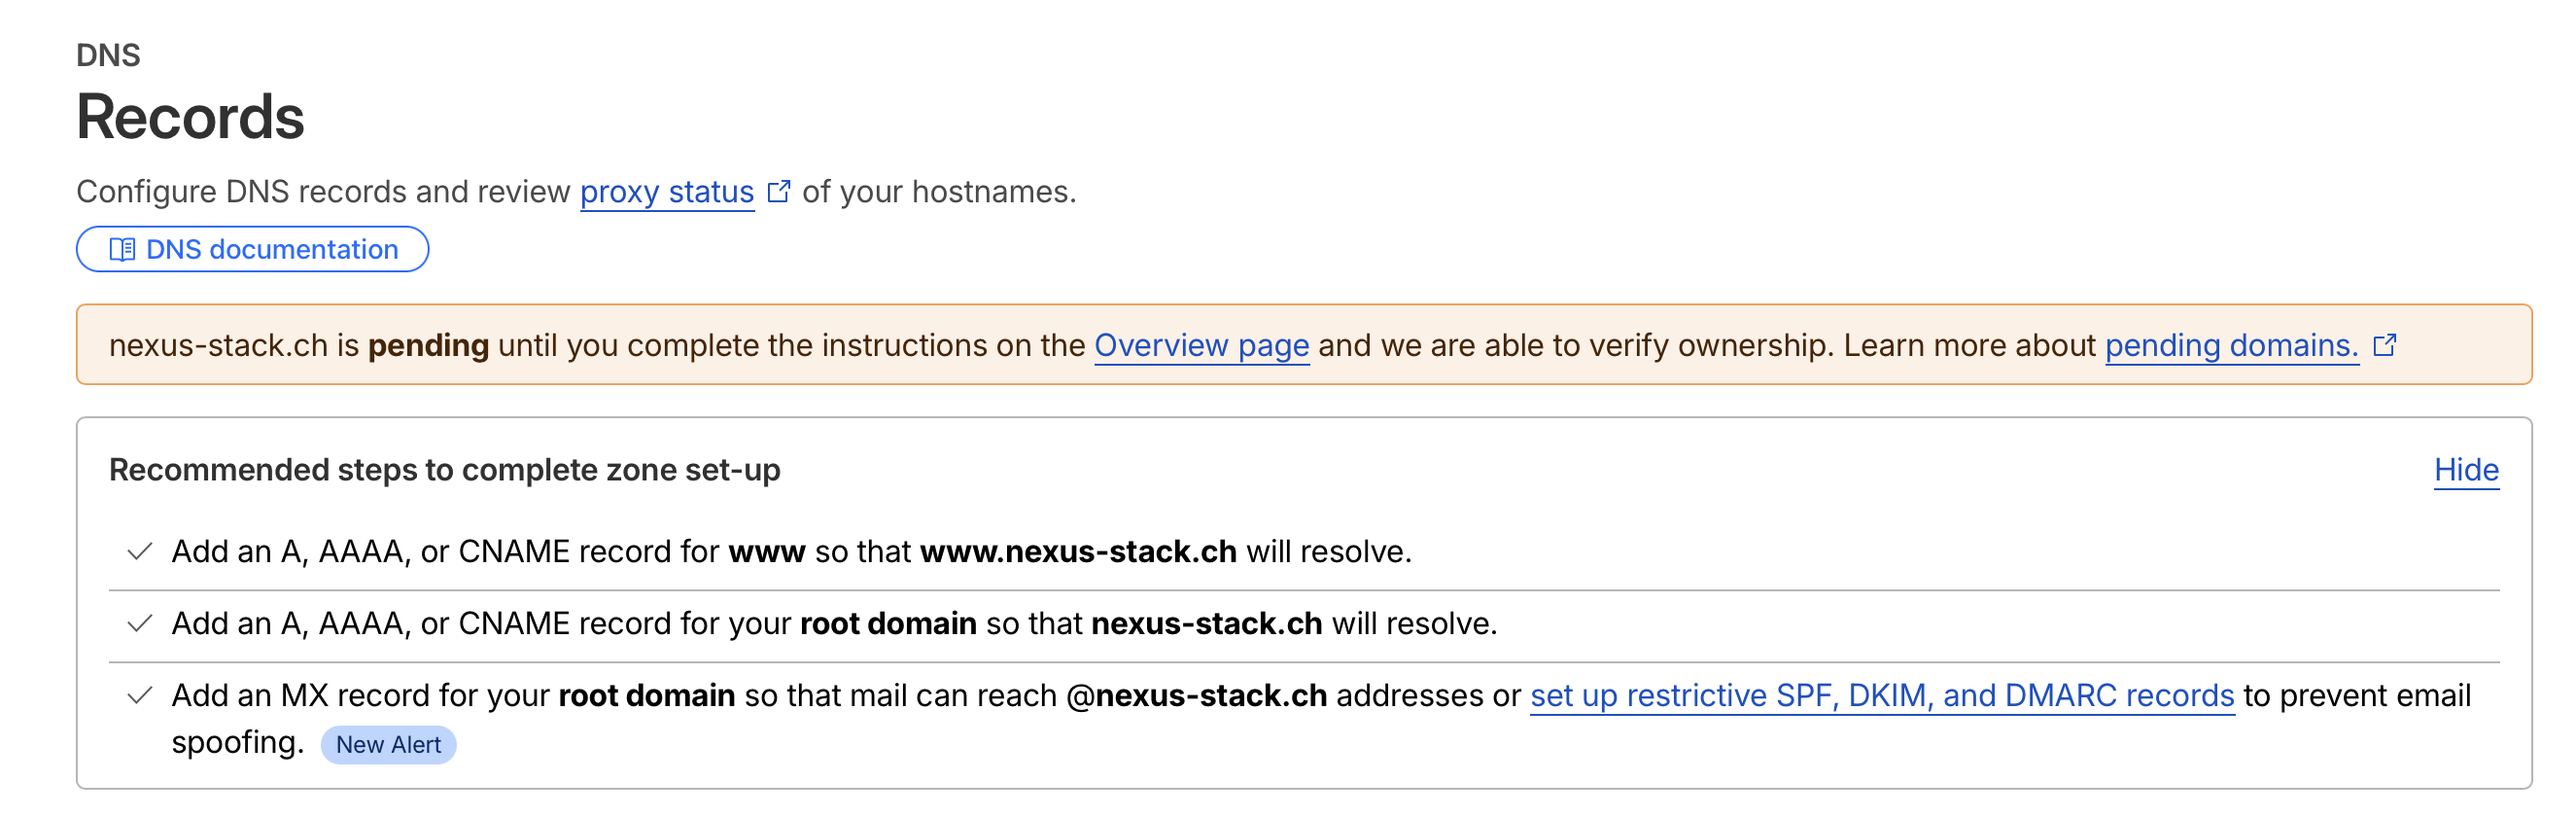
Until the success message appears.
To be able to access Cloudflare via API later, I need an API token. I go to https://dash.cloudflare.com/profile/api-tokens and click on “Create Token”.
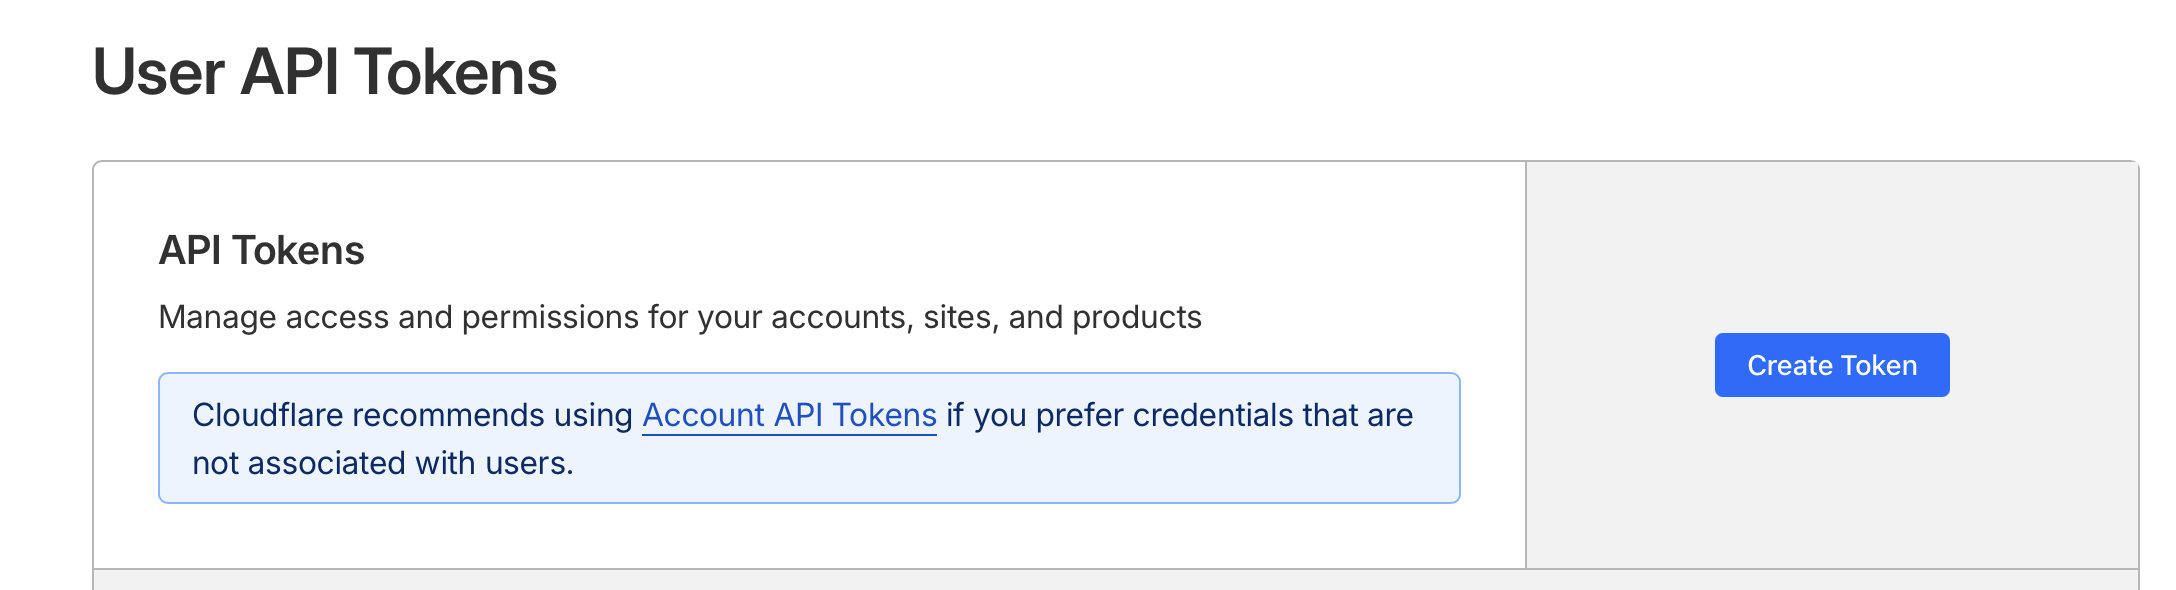
Then configure the following settings:
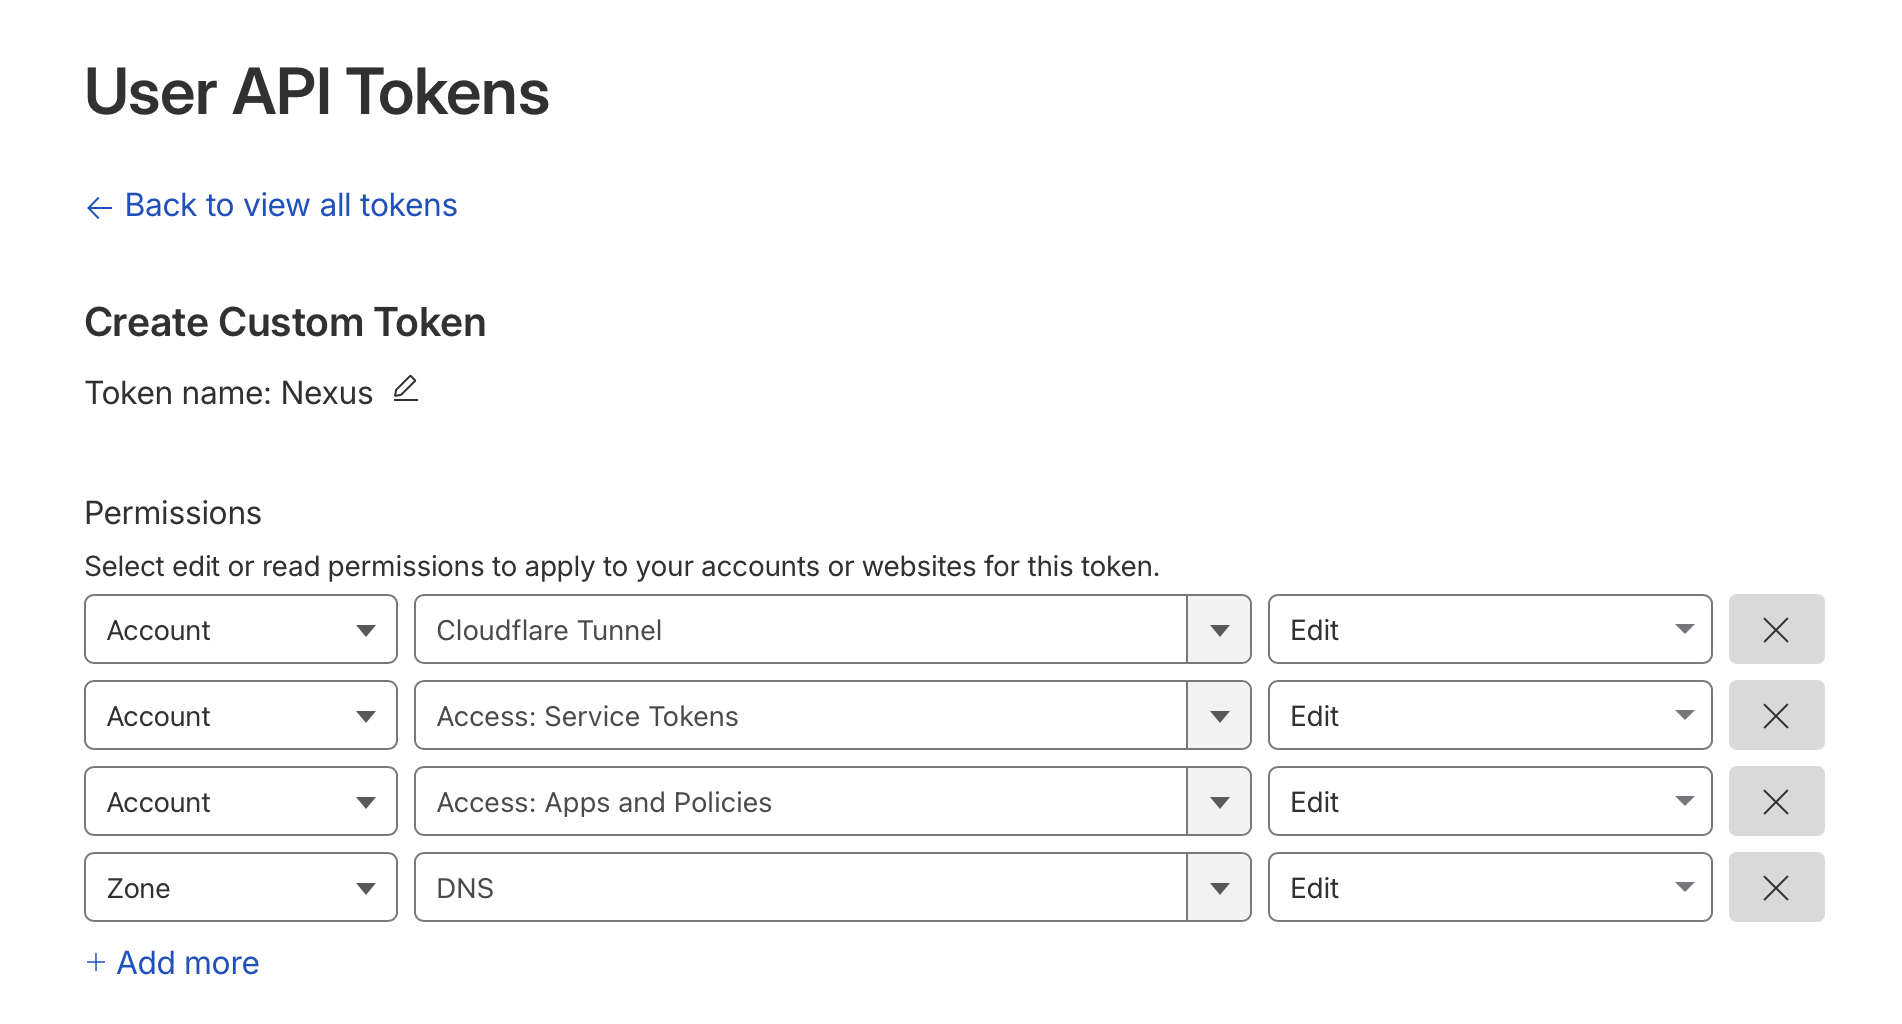
The Cloudflare API token needs these permissions:
- Zone:DNS:Edit – To create DNS records
- Account:Cloudflare Tunnel:Edit – To manage tunnels
- Account:Access:Edit – To configure Zero Trust policies
To find your Cloudflare Account ID and Zone ID:
- Account ID: Cloudflare Dashboard → any domain → right sidebar
- Zone ID: Cloudflare Dashboard → your domain → right sidebar under “API”
Hetzner
I chose Hetzner Cloud for several reasons: excellent price-performance, European servers keeping data in the EU for GDPR compliance, a 99.9% uptime SLA, and a refreshingly simple interface.
| Component | Details |
|---|---|
| Server | Hetzner Cloud CAX11 (ARM) |
| CPU | 2 vCPUs (Ampere Altra) |
| RAM | 4 GB |
| Storage | 40 GB NVMe SSD |
| Traffic | 20 TB included |
| Cost | ~€4/month |
I chose the smallest instance (CAX11) for this guide, which is sufficient for a handful of lightweight containers. If you plan to run more or heavier services, you can easily scale up to larger instances like CAX21 or CAX31 – just change the server_type in the configuration.
For the operating system, I went with Ubuntu 24.04 LTS. The Long Term Support version provides 5 years of security updates until 2029, most tutorials are written for Ubuntu, packages like Docker are up-to-date, and unattended upgrades ensure security patches are installed automatically.
Why ARM? The CAX11 is cheaper than the equivalent x86 CX22 (~€4 vs ~€7), and most Docker images now support ARM64. If you need x86, just change server_type = "cx22" in the configuration.
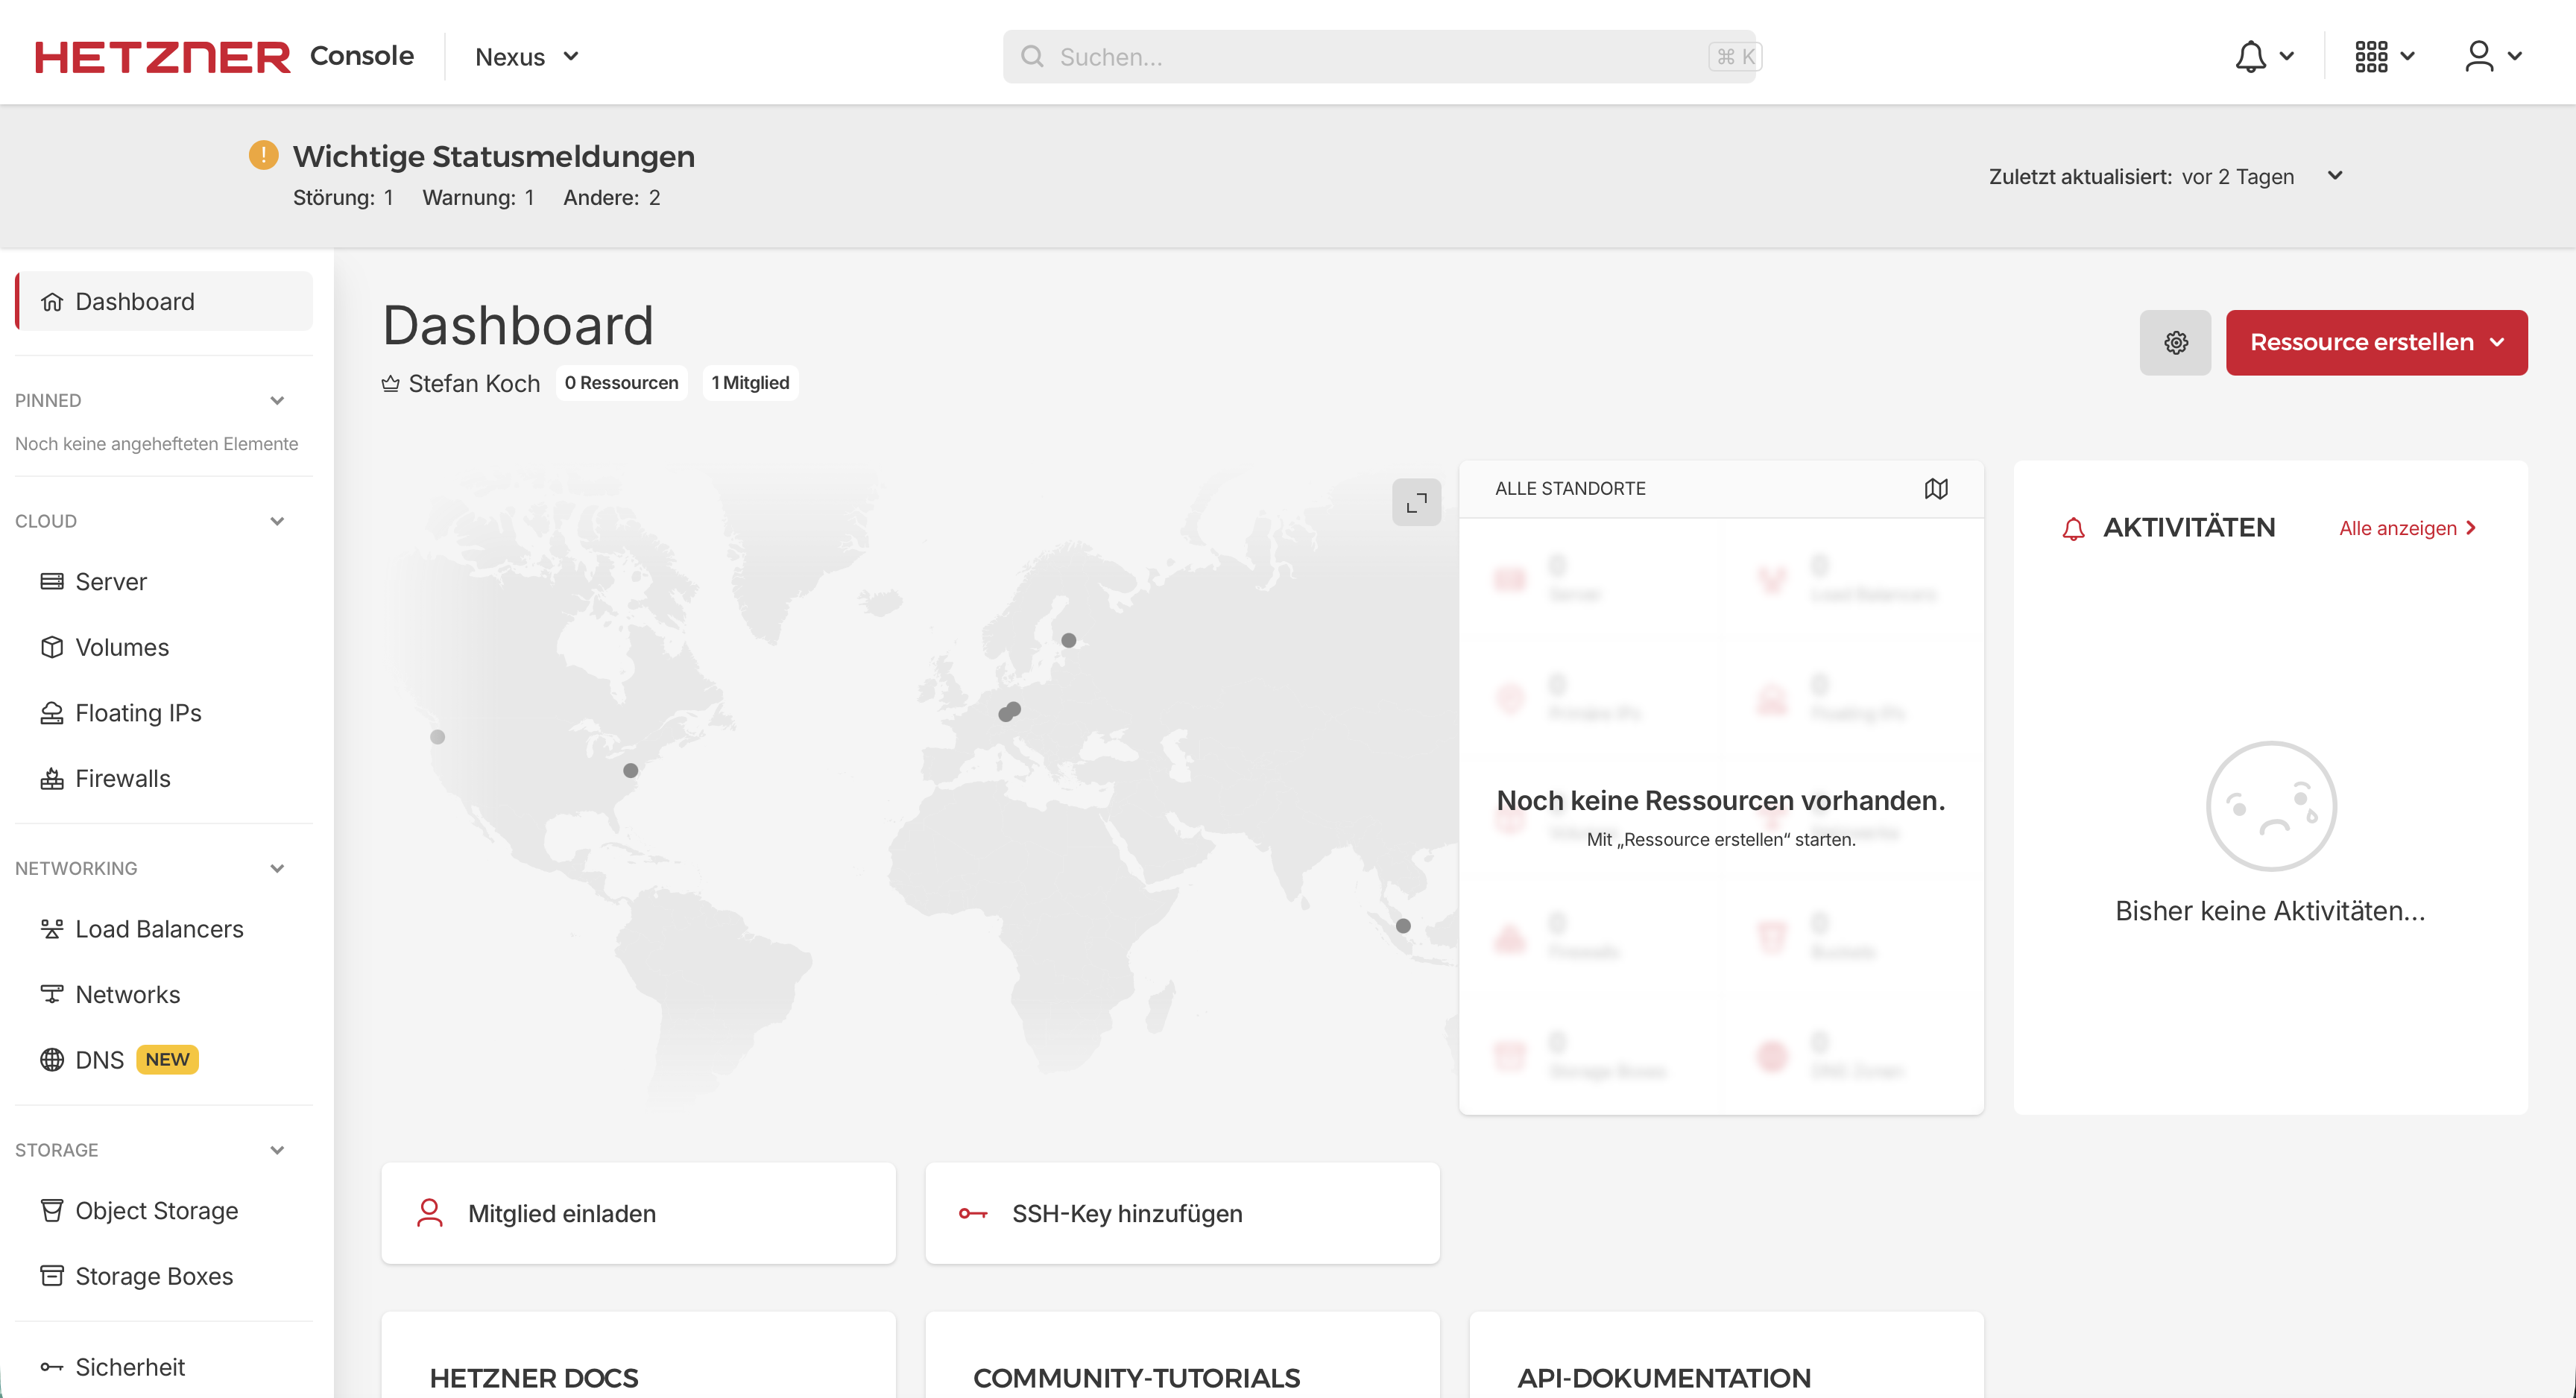
Before I can deploy, I need to make a few preparations in Hetzner itself. First, I create a new project. I’ll name it Nexus.
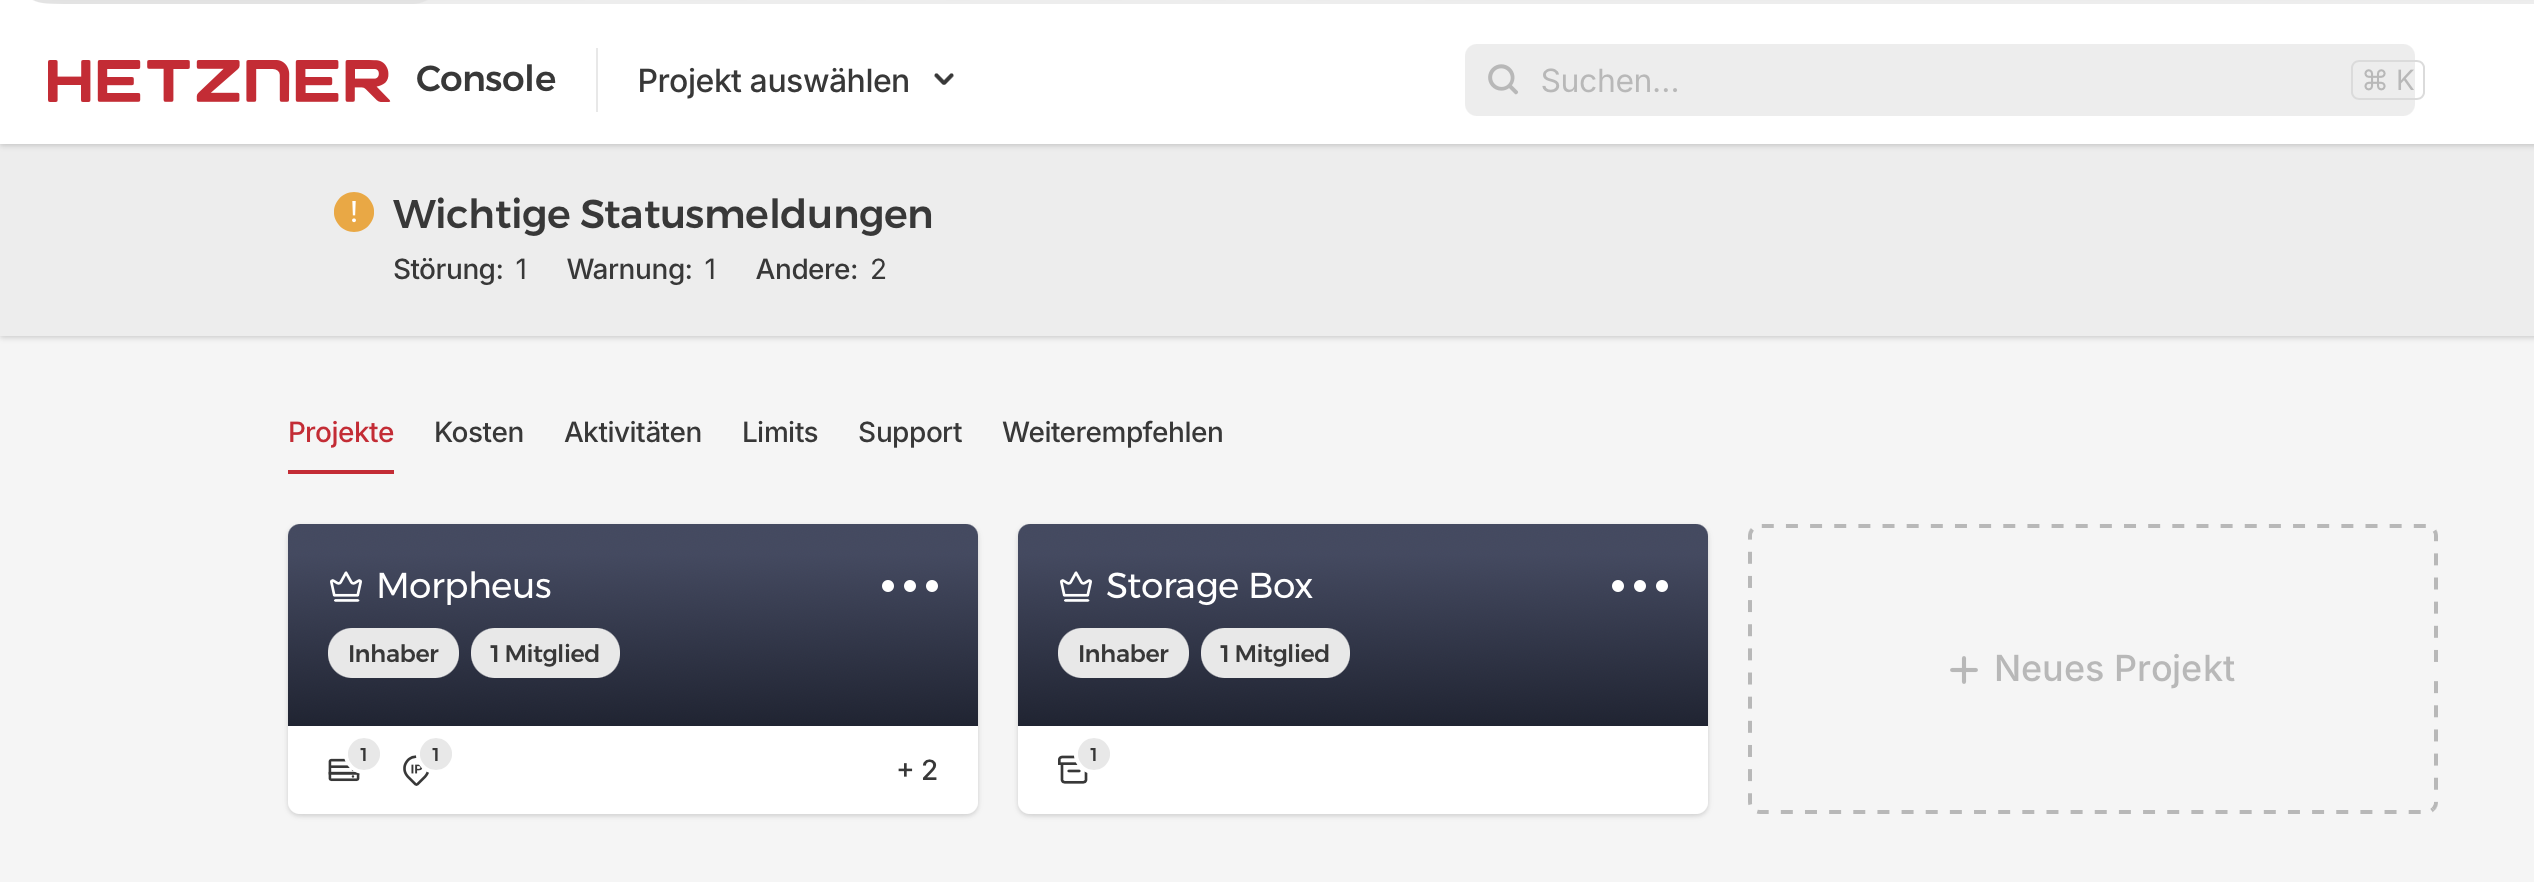
On the dashboard, I click on Security.
There I create an API token with read and write permissions.
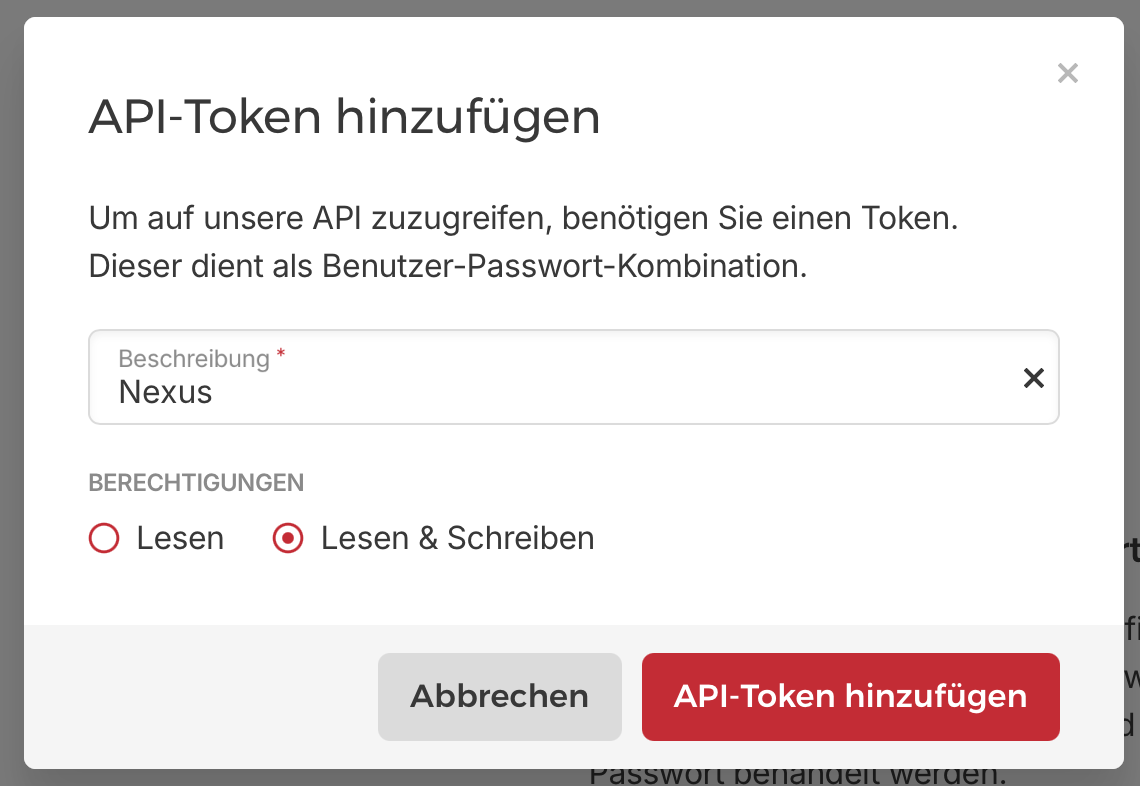
The token should be stored in a secure location.
Architecture Deep Dive
Let me explain the architecture using a concrete example. I want to run IT-Tools – a handy collection of developer utilities like Base64 encoders, hash generators, and UUID creators.
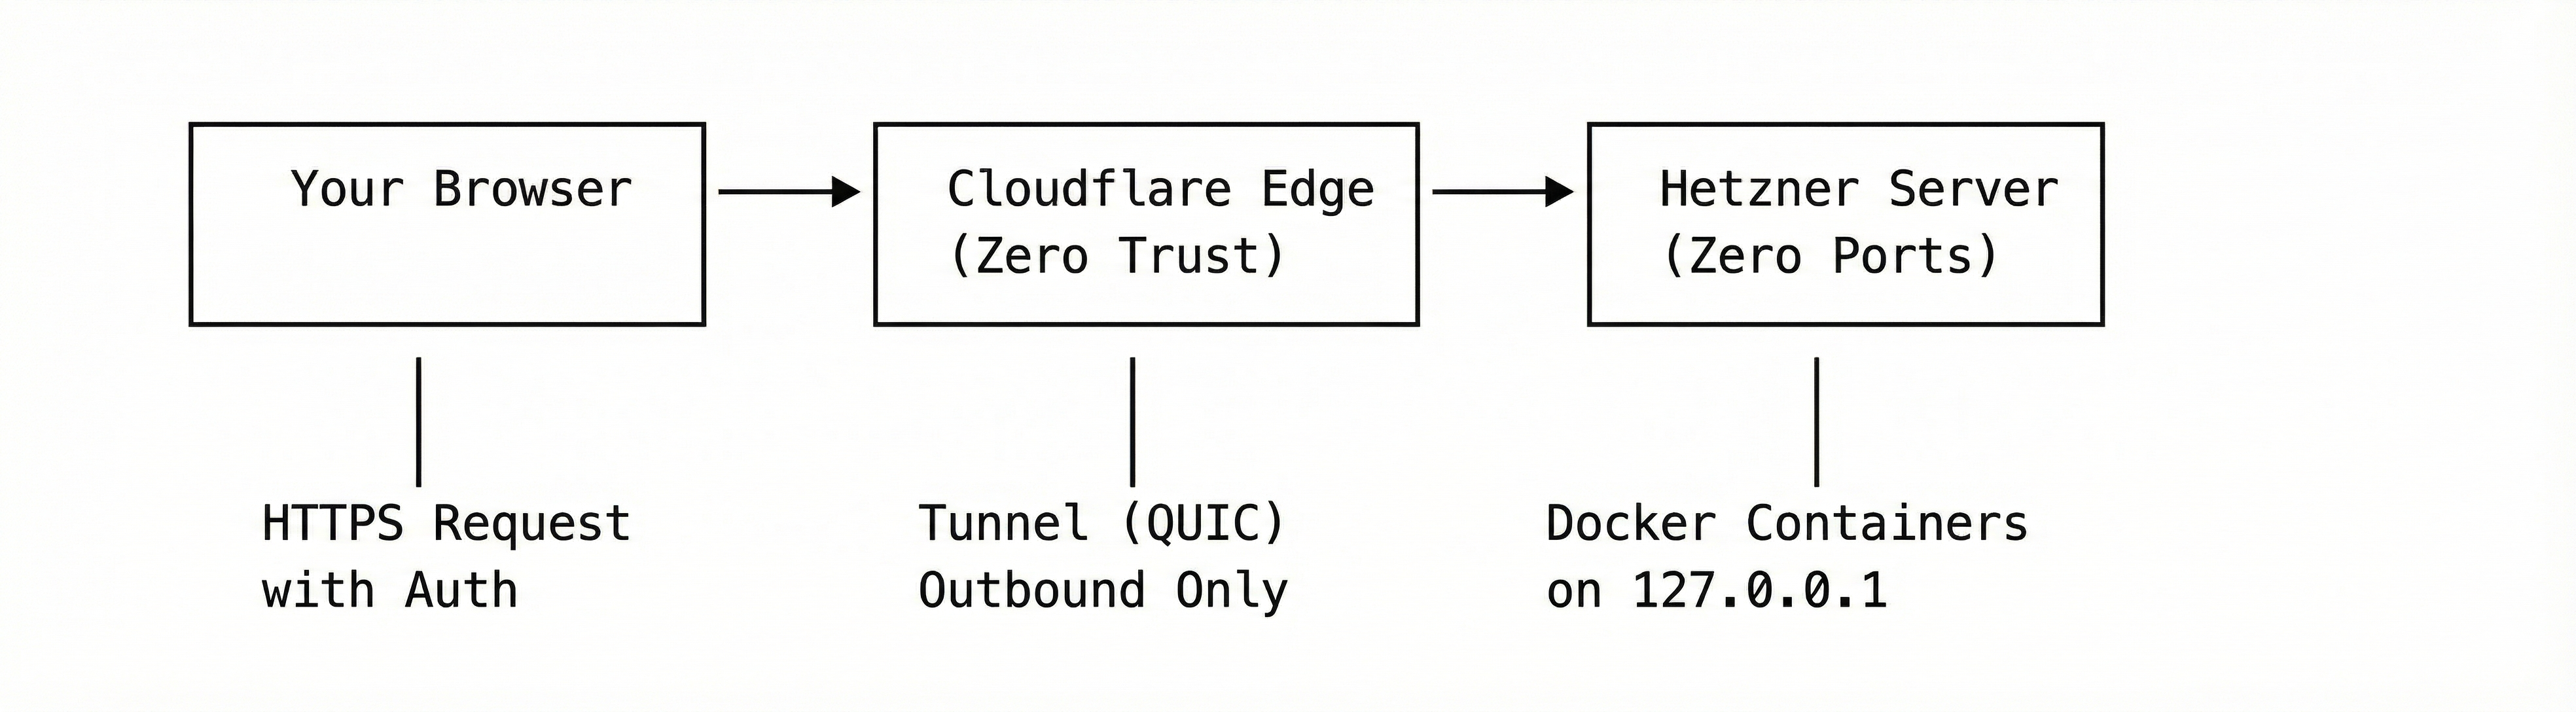
When a user accesses https://it-tools.yourdomain.com, the request first hits Cloudflare’s Edge network. Here, several things happen: DNS resolution points the domain to Cloudflare, SSL/TLS termination decrypts the HTTPS traffic, DDoS protection blocks malicious requests, and Cloudflare Access checks authentication if configured. The traffic is then forwarded to the tunnel.
The request travels through an encrypted QUIC connection to the Cloudflare Tunnel (cloudflared) running on my server. This is where the magic happens: the tunnel runs as a systemd service and maintains an outgoing connection to Cloudflare – meaning no incoming ports need to be opened on the server. Based on the hostname in the request, the tunnel routes traffic to the appropriate localhost port.
Finally, the request reaches the Docker container, which listens only on 127.0.0.1:4001. This container is completely unreachable from the internet – only the local Cloudflare Tunnel can access it.
Why Is This More Secure?
- No open ports: A port scanner finds nothing – literally zero
- No direct IP access: Even if someone knows the server IP, they can’t reach anything
- Cloudflare as a shield: DDoS attacks are absorbed by Cloudflare
- Zero Trust: Cloudflare Access requires authentication for any app
Security Concept in Detail
No Open Ports – The Core Principle
The most important security measure is simple: not a single port is directly accessible from the internet. Not even SSH.
This is where Zero-Entry-Docker differs from typical setups. Most guides tell you to at least keep SSH open. I close it too – using a two-firewall approach.
The chicken-and-egg problem
Here’s the chicken-and-egg problem: We want zero open ports, but to set up the Cloudflare Tunnel, we need to SSH into the server first. And to SSH in, we need port 22 open. But once the tunnel is running, we don’t need direct SSH anymore – we can SSH through the tunnel instead.
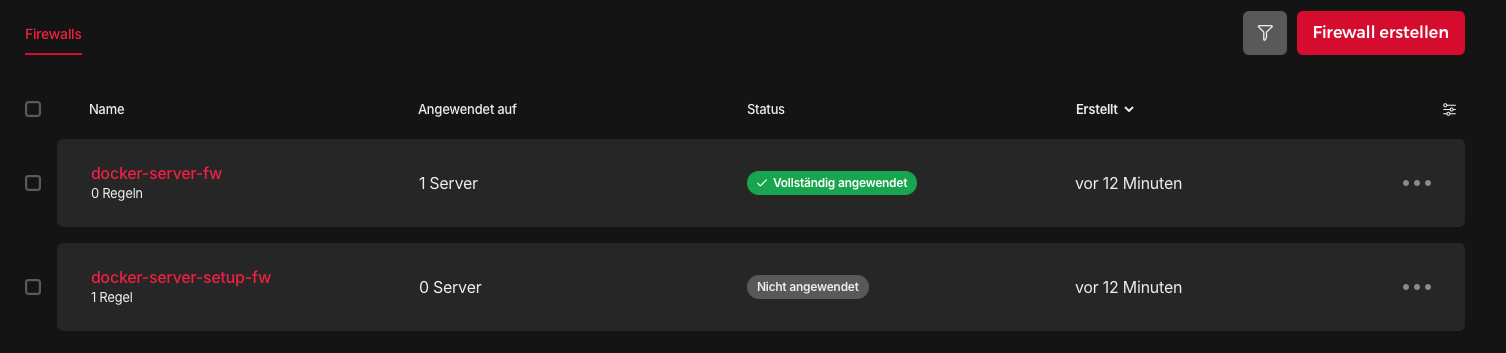
The solution is two Hetzner firewalls that we swap at the right moment:
setupfirewall – Allows SSH (port 22), attached only during initial provisioningmainfirewall – Allows nothing (zero rules), this is our permanent “Zero Entry” state
Hetzner Cloud Firewalls use a default-deny policy for inbound traffic: if you don’t explicitly allow something, it’s blocked. An empty firewall with no rules means all incoming connections are dropped – exactly what we want. Outbound traffic is still permitted, which is important because the Cloudflare Tunnel needs to establish its outgoing connection.
The deployment flow works like this:
- Server boots with the
setupfirewall → SSH is open - OpenTofu connects via SSH, installs Docker, configures the Cloudflare Tunnel
- Tunnel starts and establishes outbound connection to Cloudflare
- OpenTofu swaps firewalls: detaches
setup, attachesmain - SSH port 22 is now closed → Zero Entry achieved
After the Cloudflare Tunnel is running, OpenTofu automatically:
- Detaches the
setupfirewall - Attaches the empty
mainfirewall - Deletes the
setupfirewall
SSH is now only accessible through the Cloudflare Tunnel. A port scan sees literally nothing.
Here’s the relevant OpenTofu code:
|
|
Container Port Binding
The problem with conventionally open ports is that when you expose something like 0.0.0.0:8080:80, it becomes accessible from anywhere on the internet. Bots scan 24/7 for open ports, any vulnerability in the app is immediately exploited, and DDoS attacks hit your server directly.
The solution is to bind all Docker containers exclusively to 127.0.0.1:
|
|
This means 127.0.0.1 (localhost) restricts access to the server itself. Even if someone knows the server’s IP, they can’t reach port 4001 – only the Cloudflare Tunnel, running locally, can access the containers.
SSH Hardening
Since SSH is only accessible through the Cloudflare Tunnel (after initial setup), it already has an extra layer of protection. But we go further:
Password authentication is disabled – SSH keys only. The cloud-init script sets this up automatically:
|
|
Fail2ban is installed – Even with SSH keys, brute-force attempts can fill the logs. Fail2ban monitors these logs and automatically bans IPs after too many failed attempts. You may ask, why Fail2Ban if you don’t have open ports? Hmm, it’s a personal habit, I install it on any linux box, so why not?
Automatic updates – Security vulnerabilities are constantly discovered, and manual updates are easily forgotten. Ubuntu 24.04 has unattended upgrades enabled by default, and the cloud-init script ensures the packages are installed:
|
|
Cloudflare Tunnel: How It Works
A Cloudflare Tunnel (formerly “Argo Tunnel”) connects your server to the Cloudflare network – but differently than you might think.
With a classic reverse proxy, traffic flows: Internet → Your Firewall → Port 443 → Nginx → Container.
With a Cloudflare Tunnel, the connection is initiated from the server (outgoing), so no firewall rule for incoming traffic is needed: Internet → Cloudflare Edge → Tunnel (outgoing from server) → Container.
Tunnel Configuration
Zero-Entry-Docker creates the tunnel automatically using OpenTofu:
|
|
The tunnel configuration (ingress rules) is generated dynamically from your service definitions:
|
|
The ingress rules are processed from top to bottom. When a request comes for it-tools.yourdomain.com, the first matching rule forwards it to localhost:4001. If no rule matches, the catch-all returns 404.
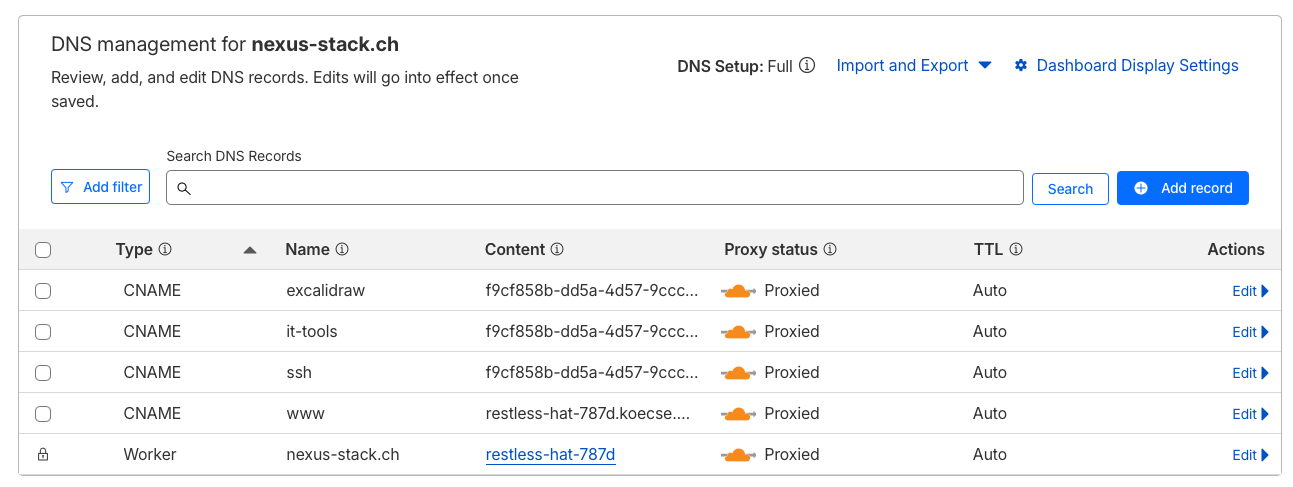
DNS Records
For each service, OpenTofu creates a CNAME record pointing to the tunnel:
|
|
Cloudflare Access for Authentication
Many self-hosted apps have their own login systems, which means different credentials for each app, varying levels of authentication security, and a password manager full of entries. Cloudflare Access solves this by sitting in front of your apps and requiring authentication before traffic even reaches them.
Zero-Entry-Docker configures this automatically for services marked as public = false:
|
|
The result: when accessing a protected app, Cloudflare shows a login page first. After email verification (a code is sent to your email), the session stays active for 24 hours. You get:
- One login for all apps
- Strong authentication (email codes, or SSO if you configure it)
- No passwords stored in individual apps
- Audit log of who accessed what and when
Dynamic Service Configuration
Services are defined in a simple tfvars file:
|
|
For each service, OpenTofu automatically:
- Creates a DNS CNAME record pointing to the tunnel
- Configures the tunnel ingress rule
- Sets up Cloudflare Access policies (if
public = false)
Adding a new service? Add 5 lines to the config, create a docker-compose.yml, run make apply, done.
Quick Start
Clone and Configure
|
|
Edit tofu/config.tfvars:
|
|
Initialize OpenTofu
|
|
This downloads the required providers (Hetzner, Cloudflare) and prepares the working directory. You only need to do this once.
Deploy Everything
|
|
This single command:
- Creates the Hetzner server with Docker pre-installed
- Sets up Cloudflare Tunnel and DNS
- Configures Zero Trust access policies
- Deploys your Docker stacks
- Closes SSH port after tunnel is running
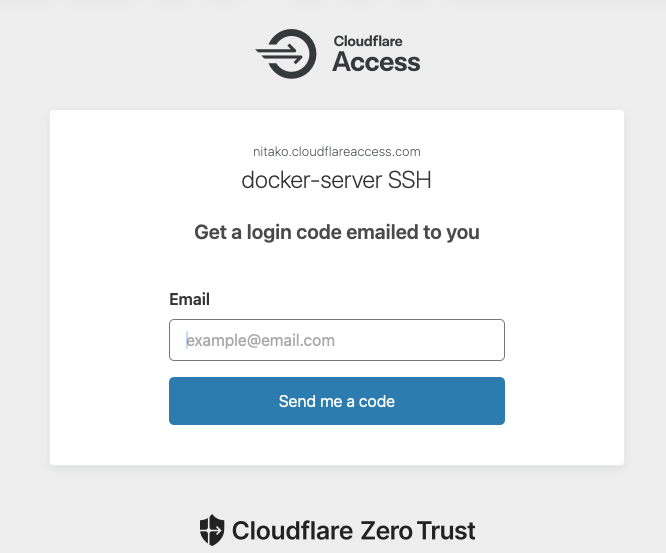
When the script starts, it pauses at the point where it wants to log in to the server via SSH. This is when you need to authenticate via Cloudflare Zero Trust.
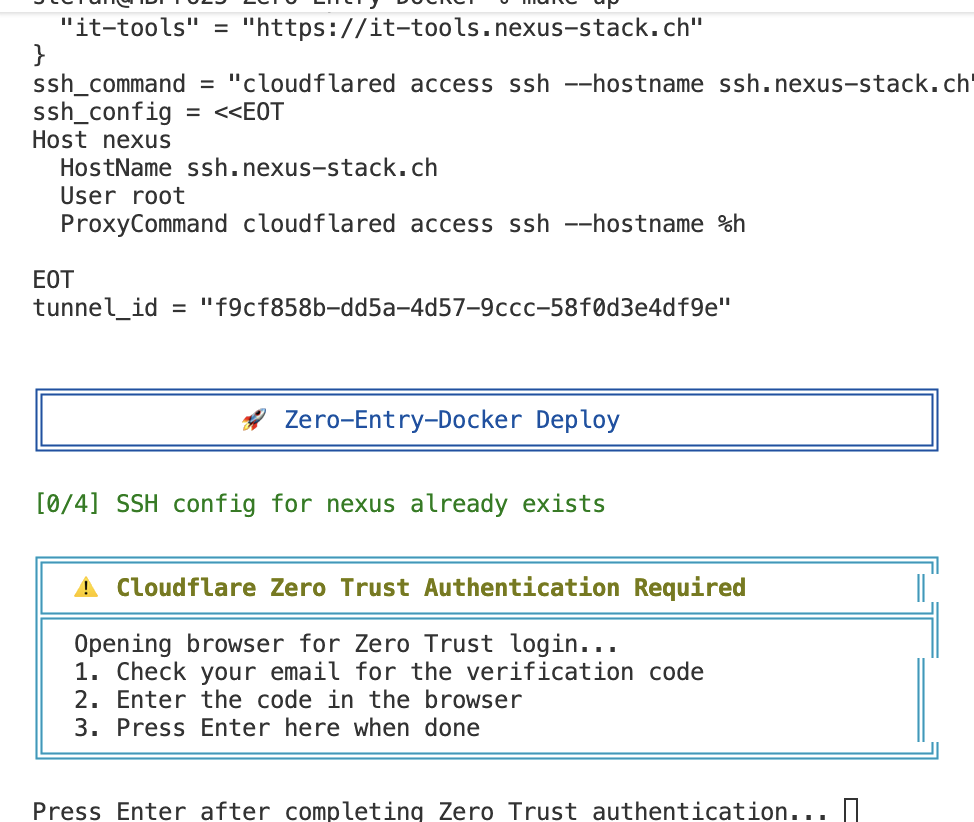
The script pauses because the authentication process takes longer and shouldn’t run into a timeout. A browser opens automatically where I enter my email address.
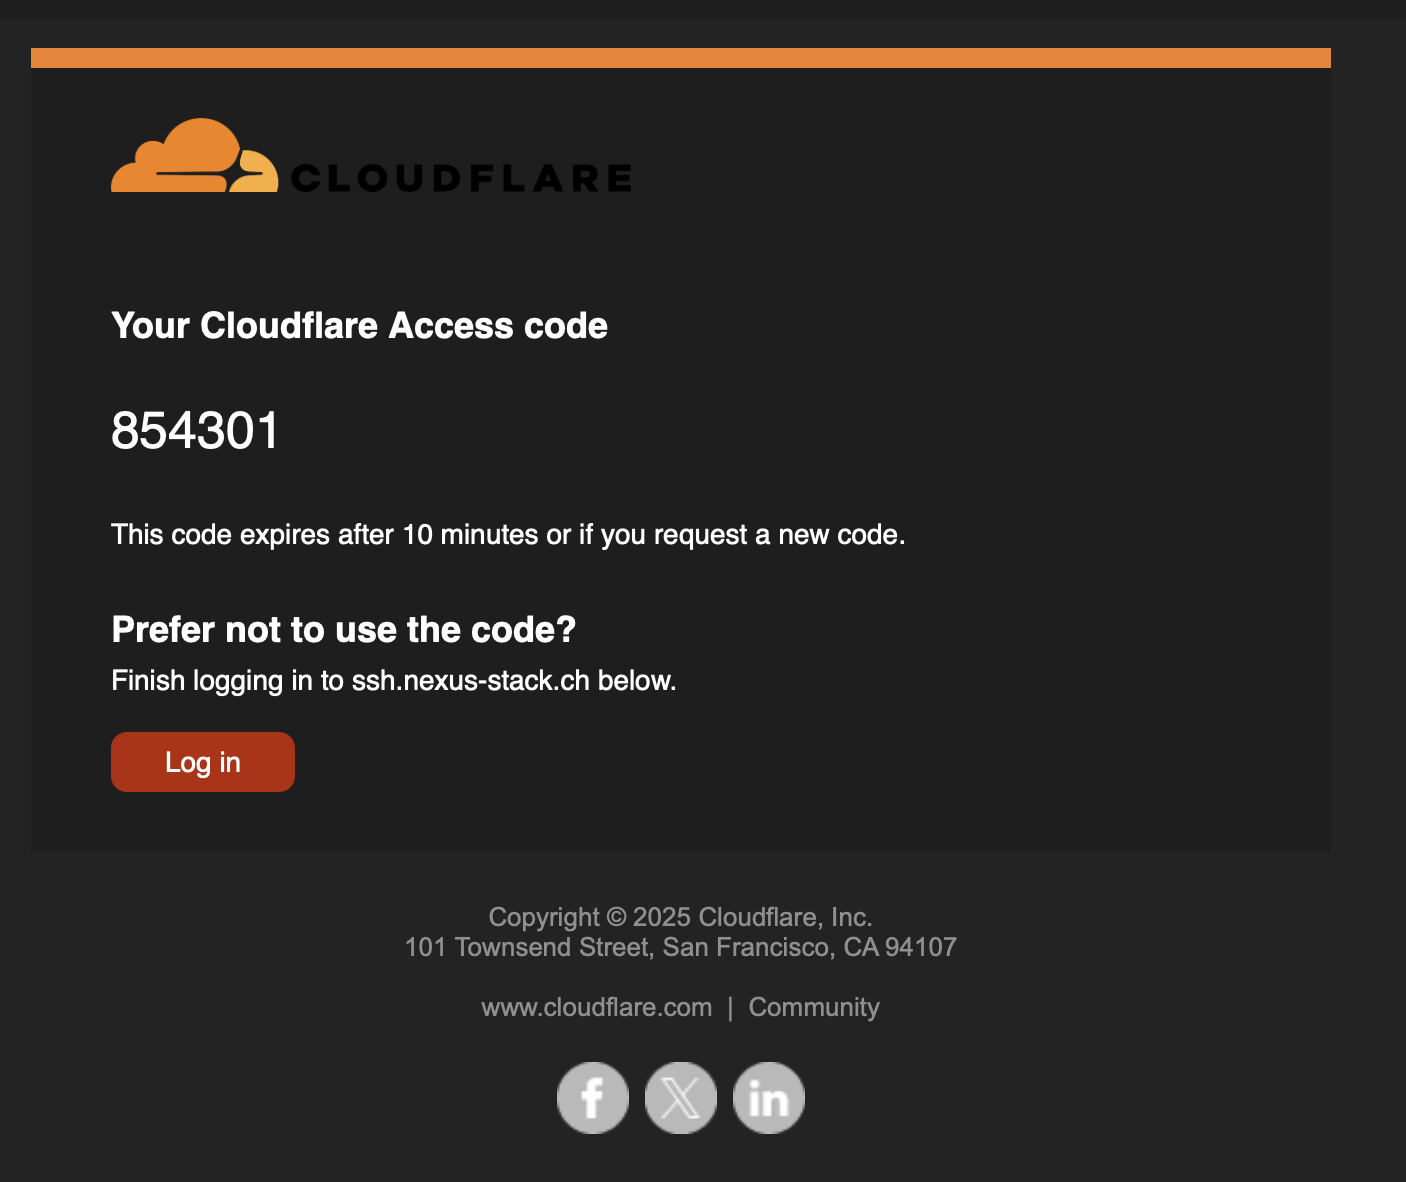
A few seconds later, I receive an email with the one-time code.
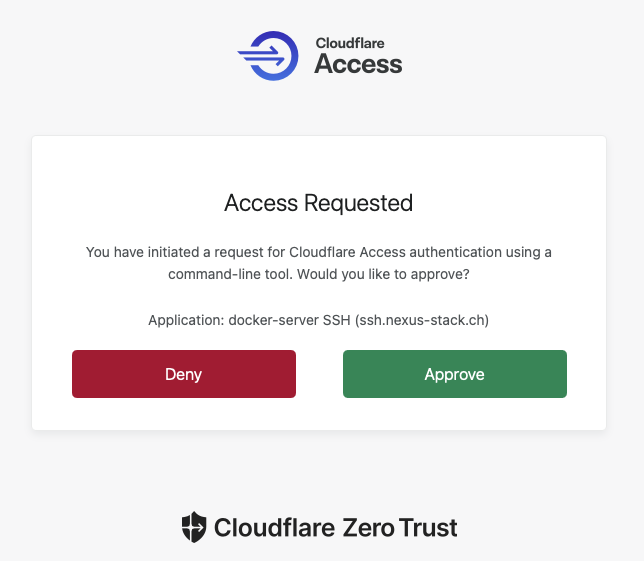
After entering the code, it proceeds to the request. The script wants to log in to the server via SSH, which I also need to approve.
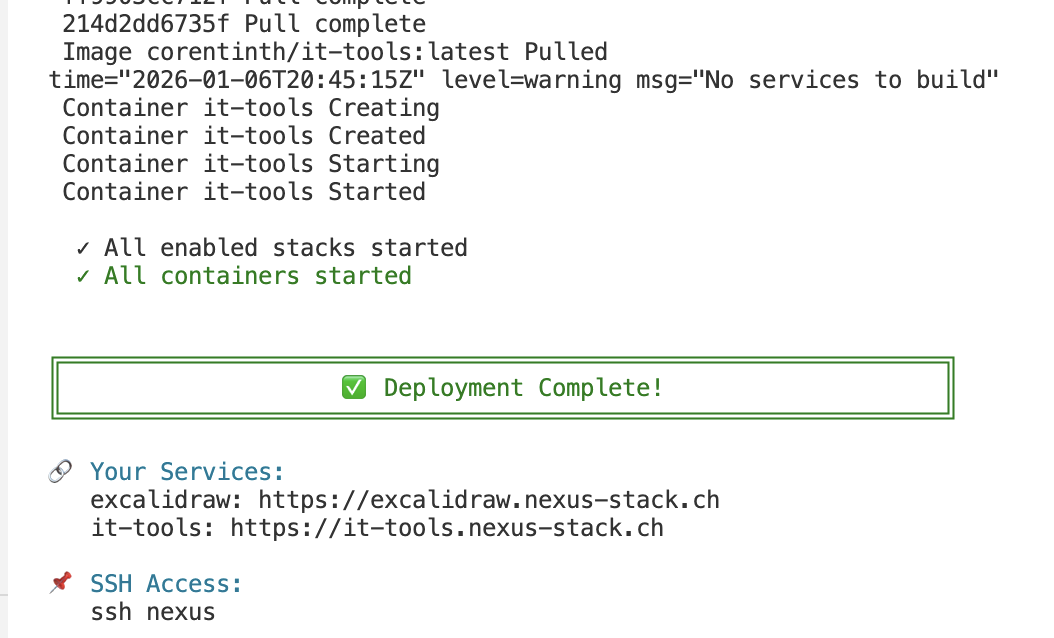
Then I return to the terminal and press Enter so the rest of the deployment can be completed. When it’s finished, a corresponding message appears.
The newly created resources are now visible in Hetzner.

The firewall rules are visible as well.
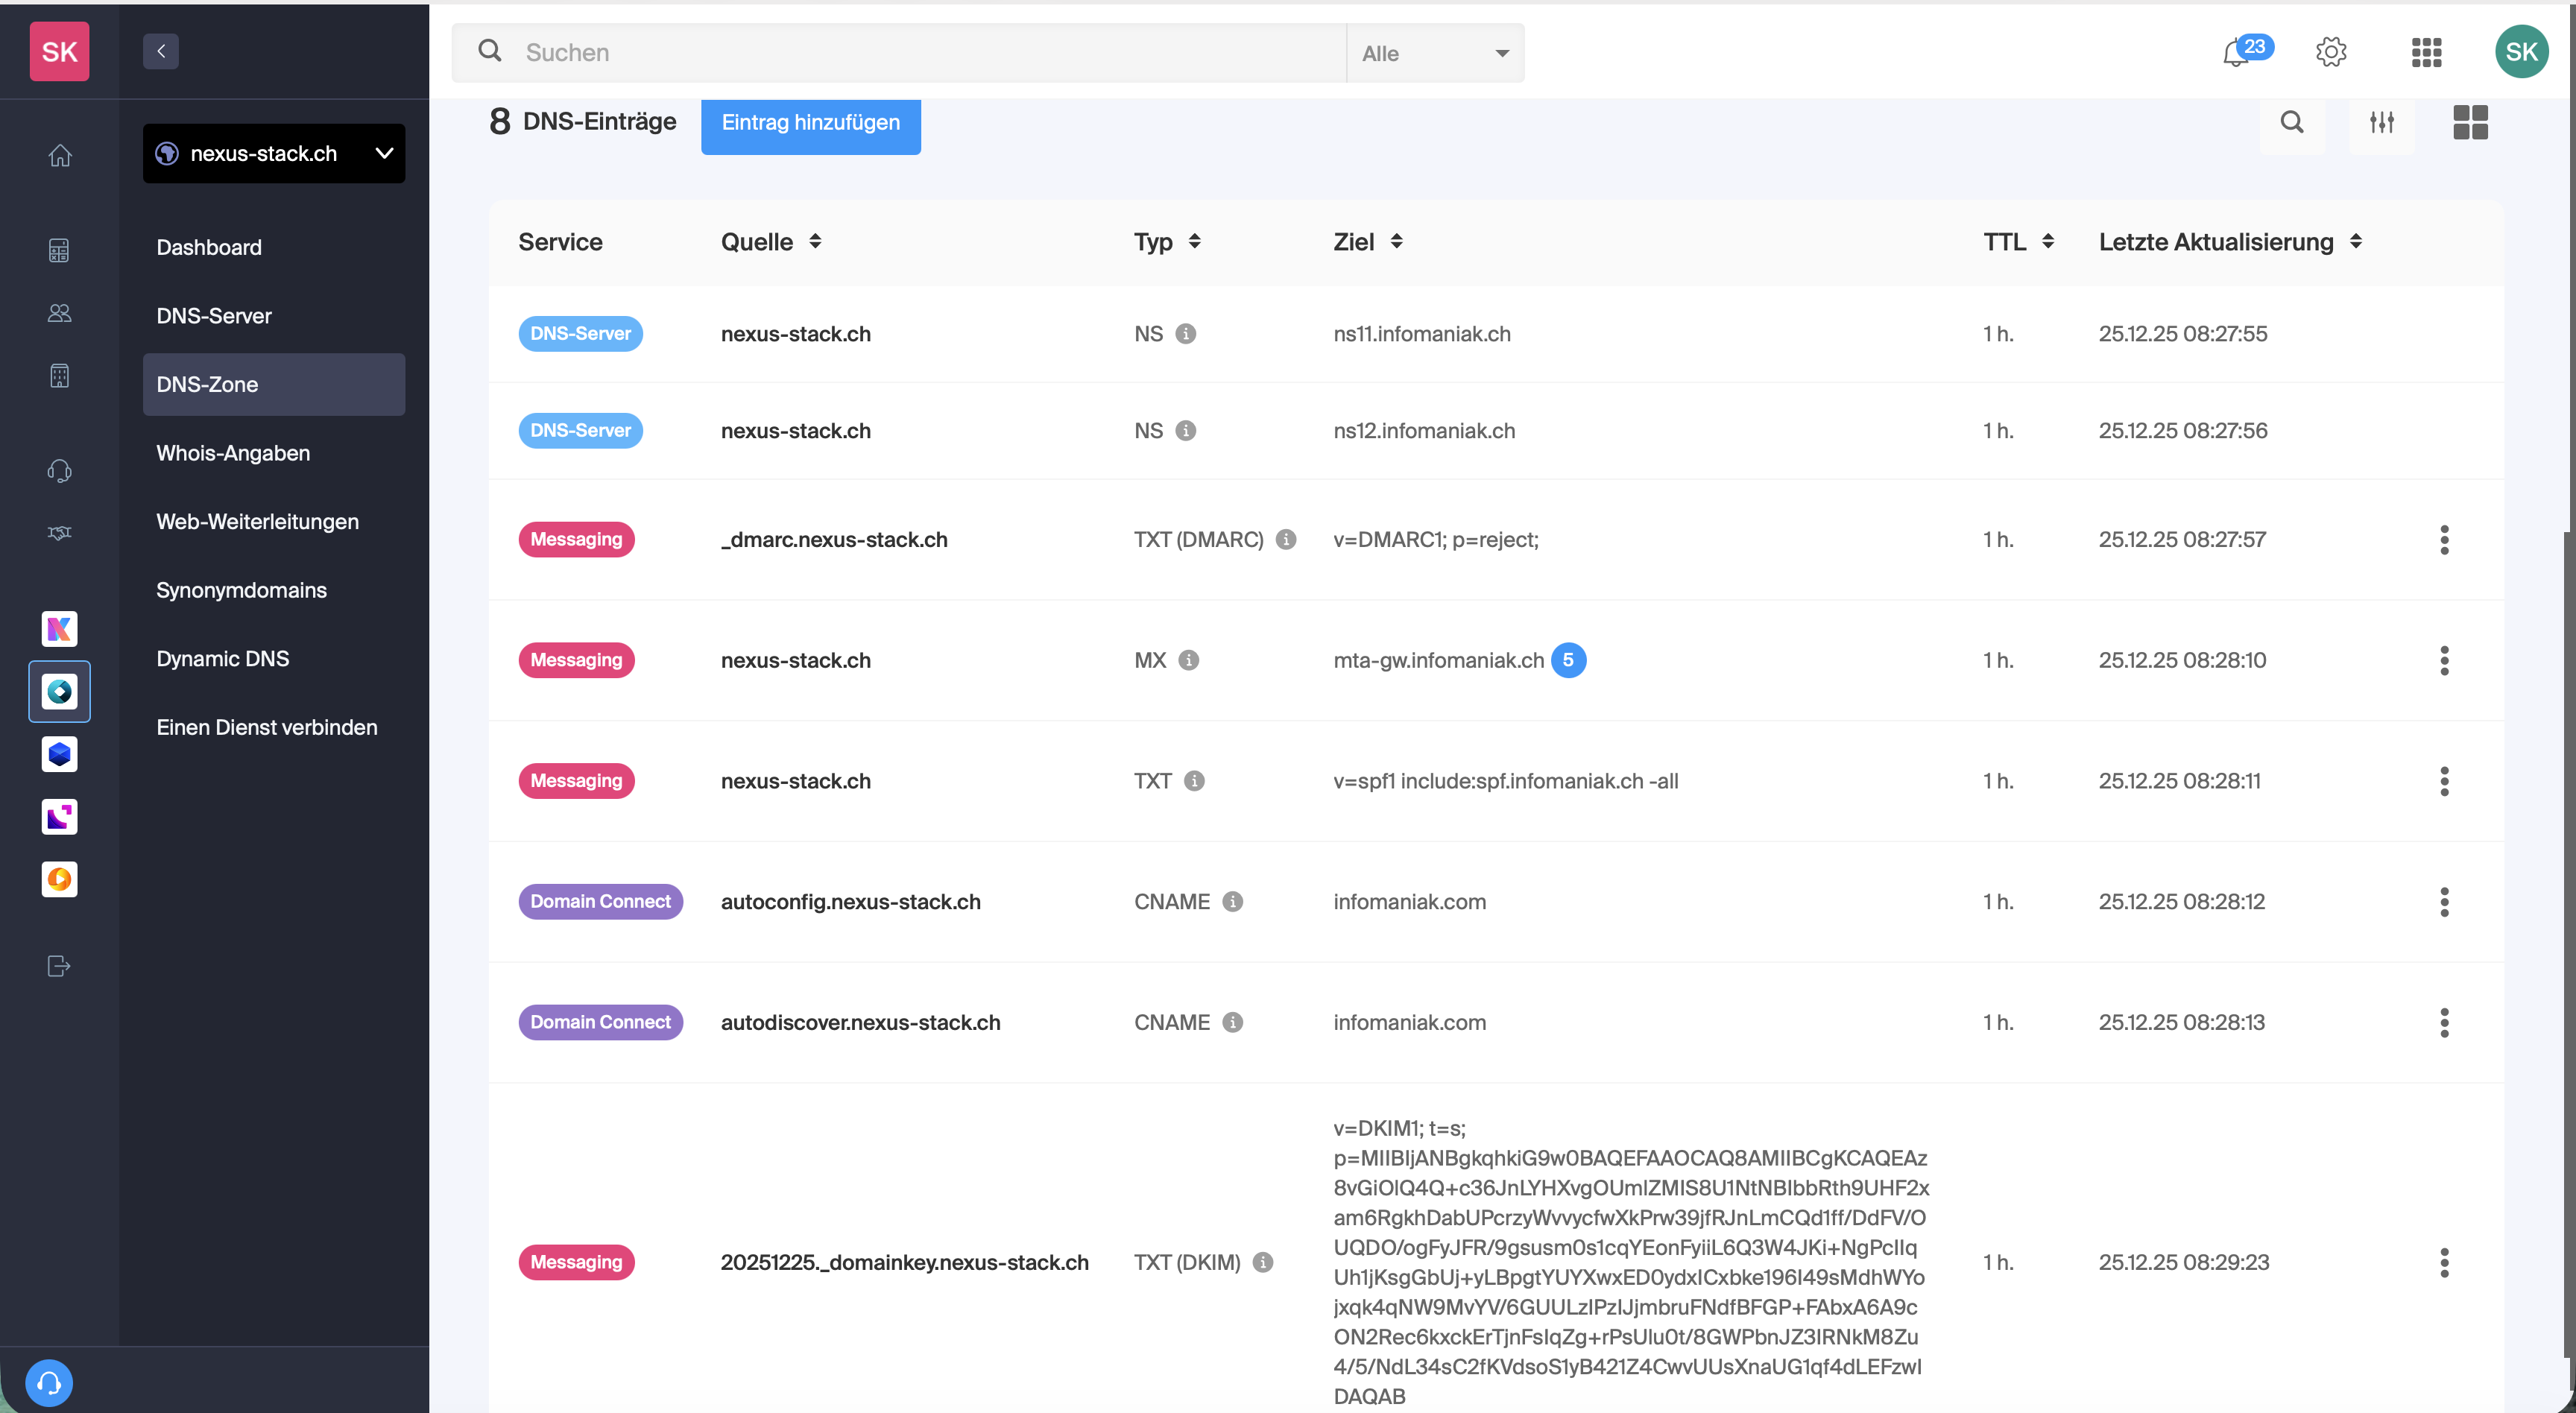
In Cloudflare, you can see the corresponding DNS entries that were automatically created. Each Docker container has its own CNAME record for the subdomain.
Access Your Services
After deployment, your services are available at the corresponding sub-domain:
https://it-tools.yourdomain.com– IT-Tools (requires email login)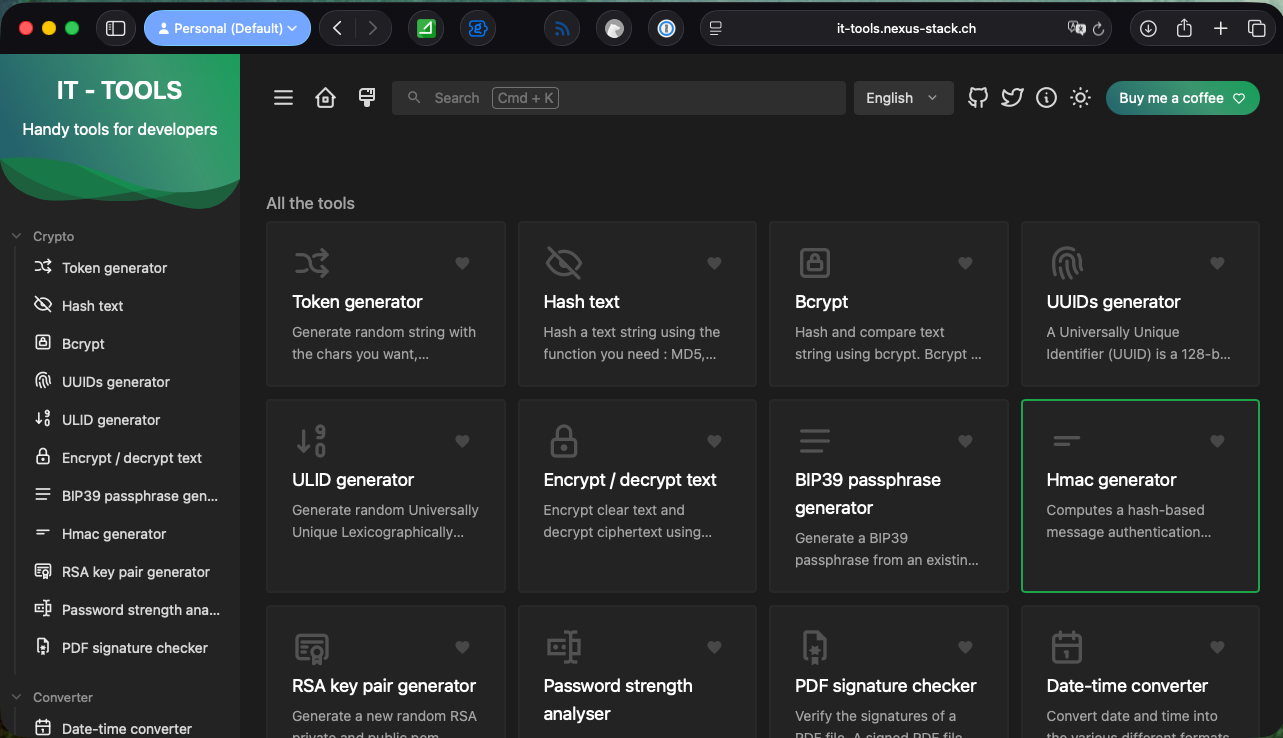
Run make urls to see all your service URLs.
Available Commands
| Command | Description |
|---|---|
make up |
Create everything from scratch |
make down |
Destroy everything (irreversible!) |
make status |
Show running containers |
make ssh |
SSH into server (via tunnel) |
make logs |
Follow Docker logs |
make urls |
Show all service URLs |
make apply |
Apply configuration changes |
make init |
Initialize OpenTofu |
make plan |
Preview changes without applying |
Adding Your Own Services
Create the Docker Stack
Each service gets its own folder containing the docker-compose.yml. This provides isolation (one service crashes, others are unaffected), clarity (all files for a service in one place), and easier updates.
|
|
Create stacks/my-app/docker-compose.yml:
|
|
Let me walk through this configuration:
- Port binding
127.0.0.1:5000:80is crucial – the service is only accessible locally - Memory limits prevent a single container from consuming all RAM
- Shared network allows containers to communicate when needed
- Restart policy
unless-stoppedmeans automatic restart after reboot
Add to Configuration
In tofu/config.tfvars:
|
|
Deploy
|
|
Your app is now live at https://myapp.yourdomain.com with Cloudflare Access protecting it.
Useful Commands
Here’s a quick reference for the most common Docker operations (after make ssh):
Container management:
docker ps– shows running containersdocker compose up -d– start a service (from its folder)docker compose logs -f– follow logsdocker compose pull && docker compose up -d– update to latest image
Monitoring:
docker stats– live resource usagedocker system df– disk usage
Cleanup:
docker image prune– remove unused imagesdocker system prune– clean up everything unused
Limitations & Caveats
This is a hobby project. It works great for my homelab, but keep in mind:
- No persistent storage configuration – You’ll want to add proper volumes for data that should survive
make down - Single server only – No clustering or high availability
- ARM architecture – Most images work, but check compatibility
- Cloudflare dependency – If Cloudflare has issues, so do you
What’s Under the Hood
If you’re curious about the implementation, here’s the file structure:
|
|
The main.tf file contains about 200 lines of OpenTofu code that orchestrates everything. It’s readable and well-commented if you want to understand or customize it.
Conclusion
Zero-Entry-Docker represents the evolution from “I know how to set this up” to “I never have to set this up again.” The entire infrastructure is:
- Documented in code
- Reproducible with a single command
- Secure by default with zero open ports
- Extensible through simple configuration
The code is on GitHub: https://github.com/stefanko-ch/Zero-Entry-Docker
Happy self-hosting! 🚀
Title image generated with Gemini